Introduction
In the last “MSIX Modern Packaging – Part 1” I showed you how to get a virtual environment to start creating MSIX.
For MSIX to work we need to sign our packages, and this is typically where we say “ok, I give up”. At least back in the days when I heard about certificates I got tired right there. Don’t be, it is cool and it is easy once you get the pattern.
In this chapter I will show you how to get a certificate (PFX) ready to use for packaging. How cool is that. Just follow the steps and you are soon to begin packaging your very own packages.
Requirements
- Hyper-V
- PKI
Setup your PKI
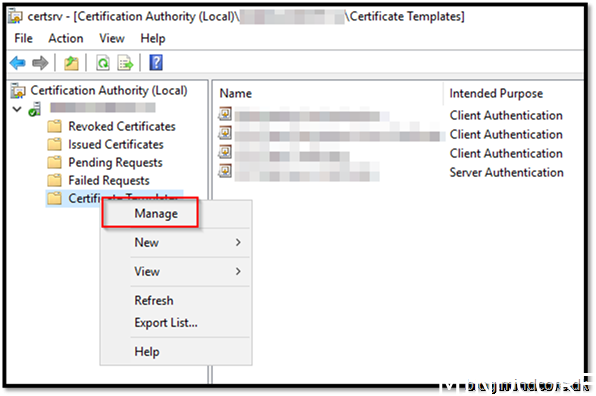
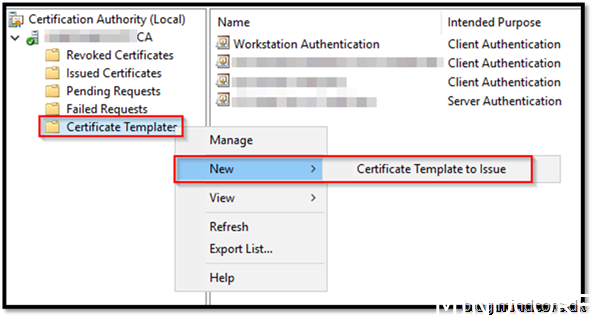
Let’s start by creating a new template for your endpoint
Right click and Manage your certificate templates
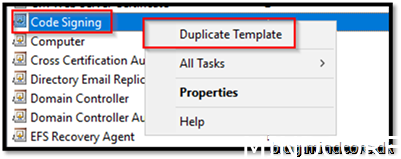
Choose Code Signing and Duplicate Template
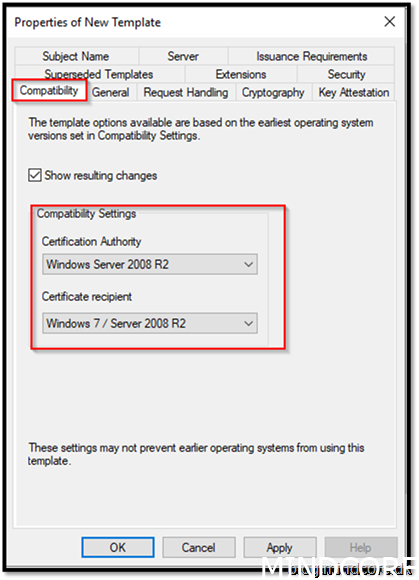
On Compatibility choose the minimum compatible you need.
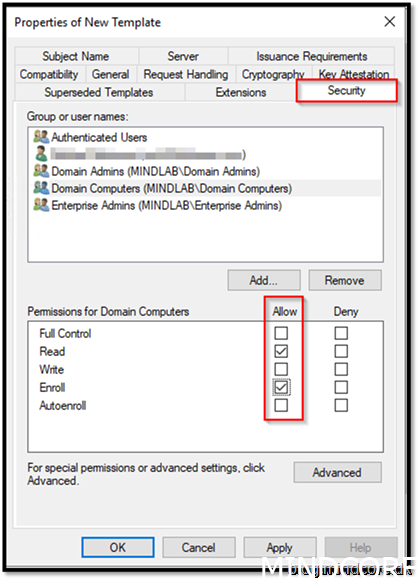
Go to security tab and add Domain Computers.
Tick Enroll
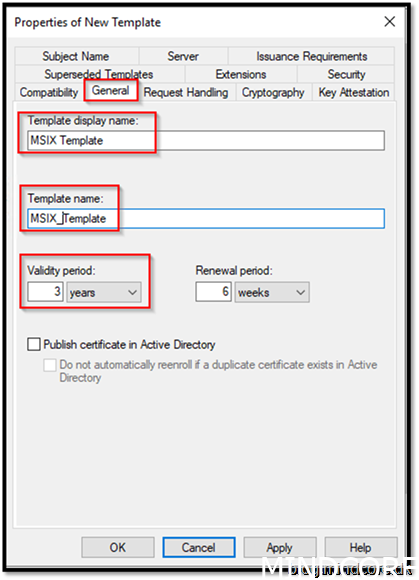
On the General tab give it name MSIX Template
Template name: MSIX_Template
Validity period: whatever your security requires.
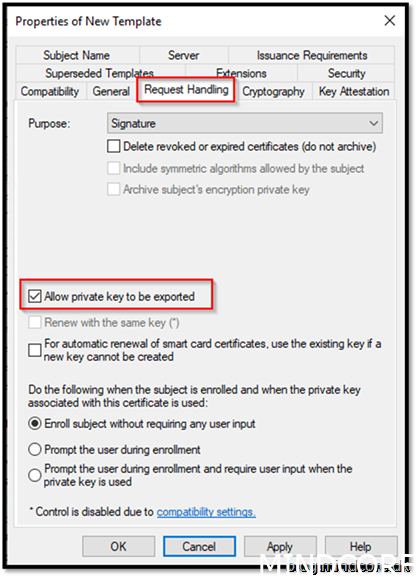
Go to Request Handling and allow private key to be exported
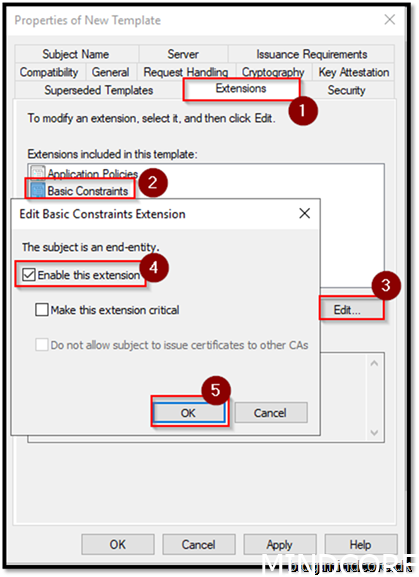
Go to Extensions
Choose Basic Constraints
Edit
Enable this extension
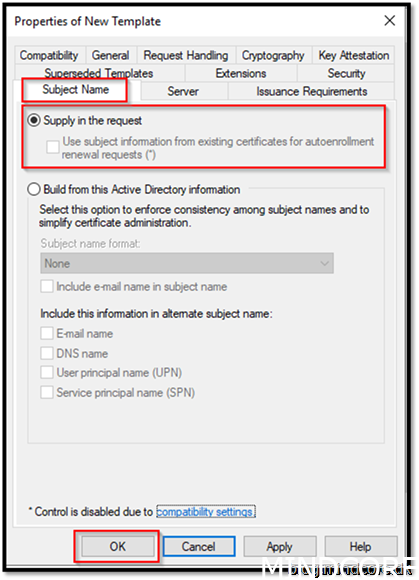
Go to Subject Name
Choose Supply in the request (This will make sure we can insert a common name when we request the certificate)
Ok
Now we will make the template available for the client devices on the domain
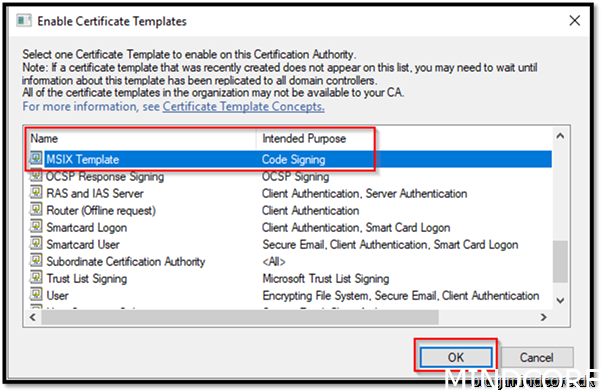
Find MSIX Template
Click OK
Now everything we need, to be able to sign our packages, is ready.
Because we build the certificate on a root authority that we trust, no other certificates need to be installed into our environment for our MSIX packages to work.
Export PFX for MSIX packaging
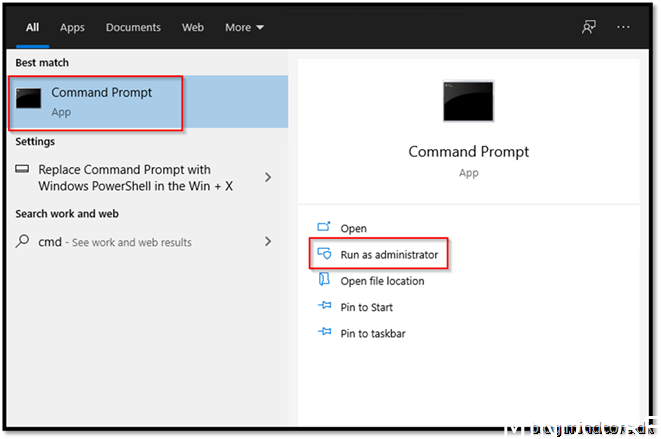
Let’s start on a client that is in our environment.
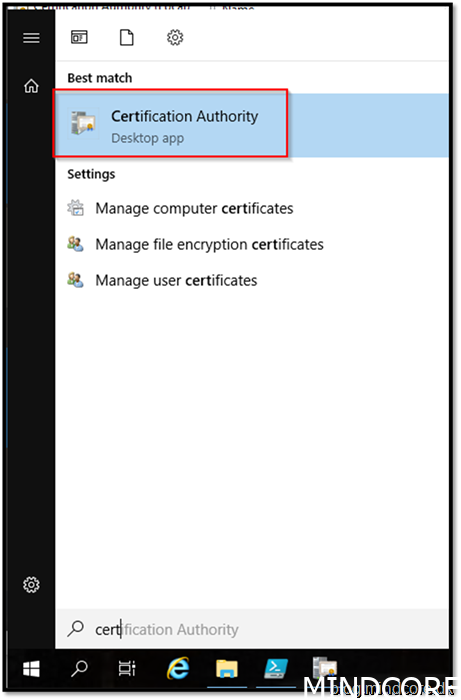
Go to the start menu and open a CMD with elevated permissions
Click Yes
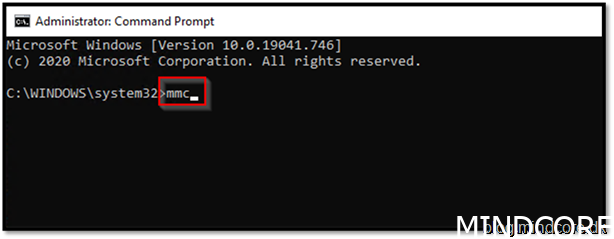
Type “MMC”
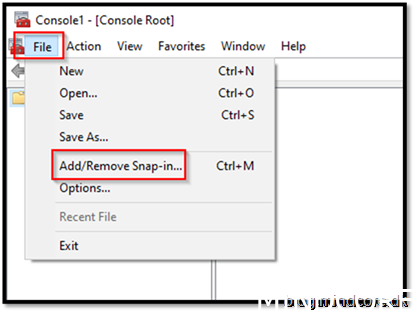
Choose File and “Add/Remove Snap-in”
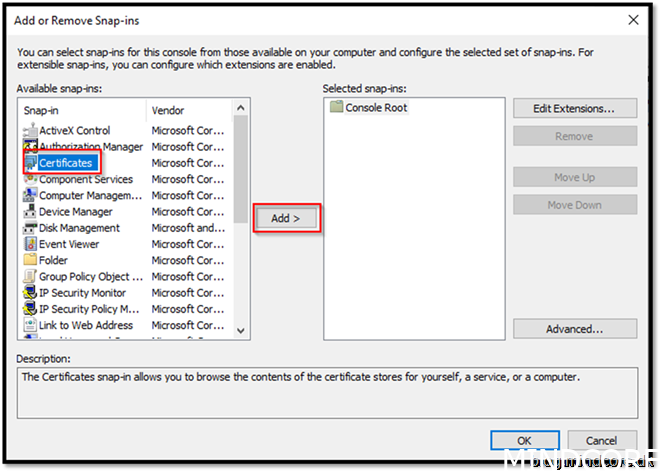
Choose Certificates and click Add>
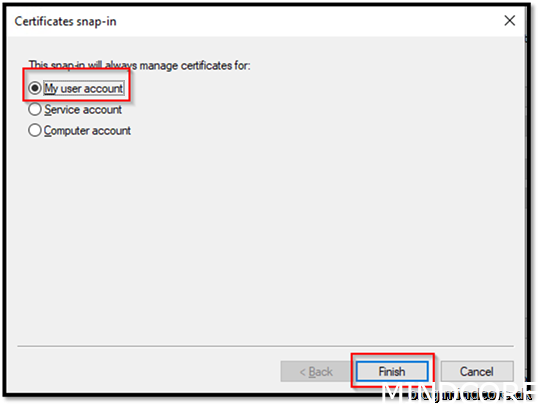
Choose My user account
Finish
ok
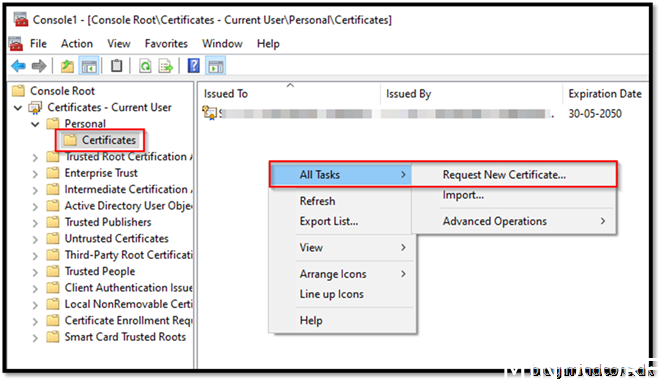
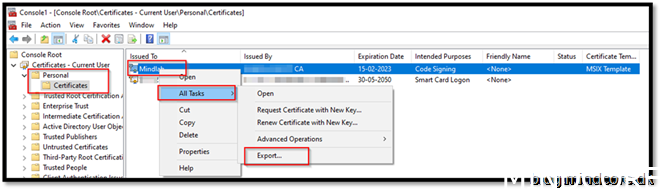
Choose Personal – Certificates
All Tasks -> Request New Certificate..
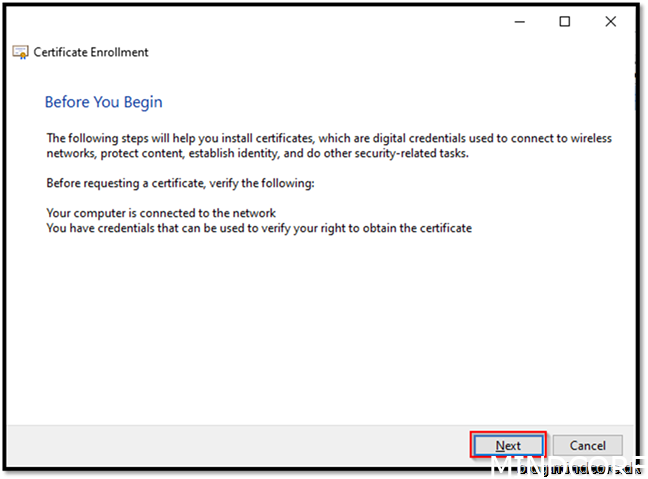
Next
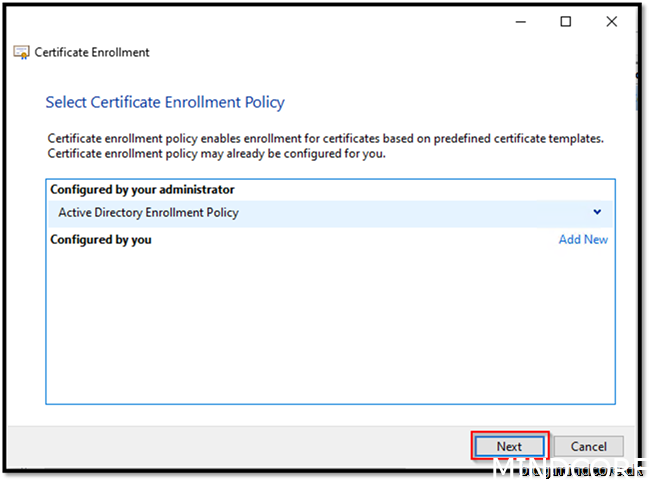
Next
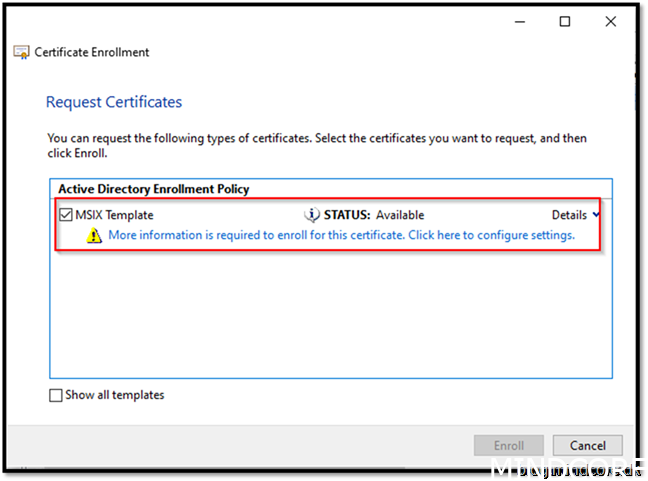
Mark the template and click the blue text
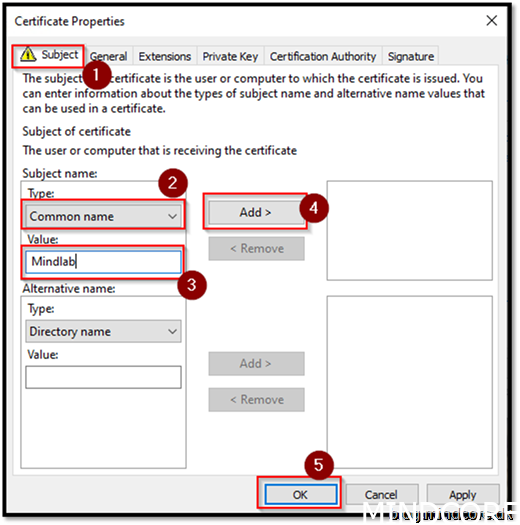
Choose “Common name”
Value: Mindlab (type your own)
Add
ok
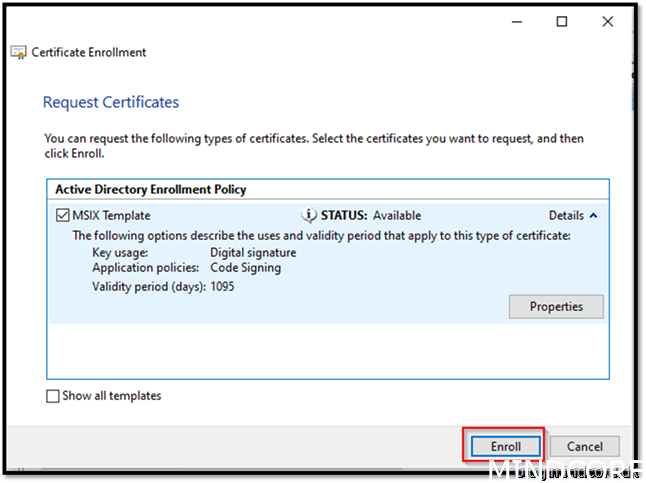
Enroll
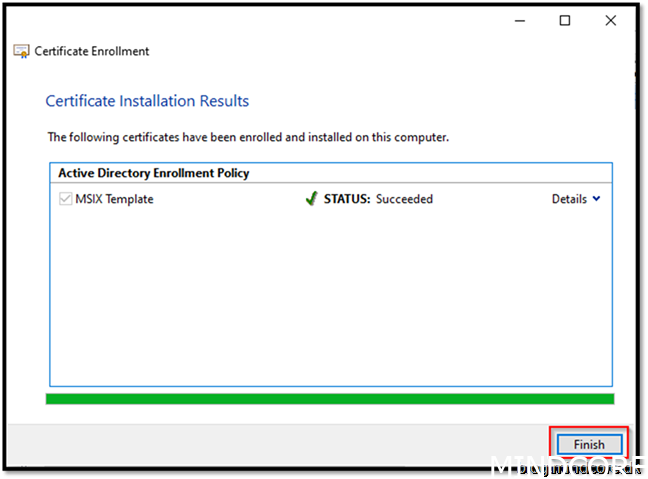
Finish
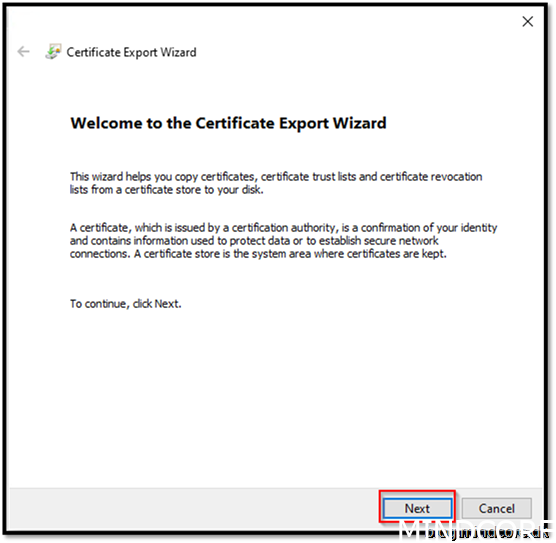
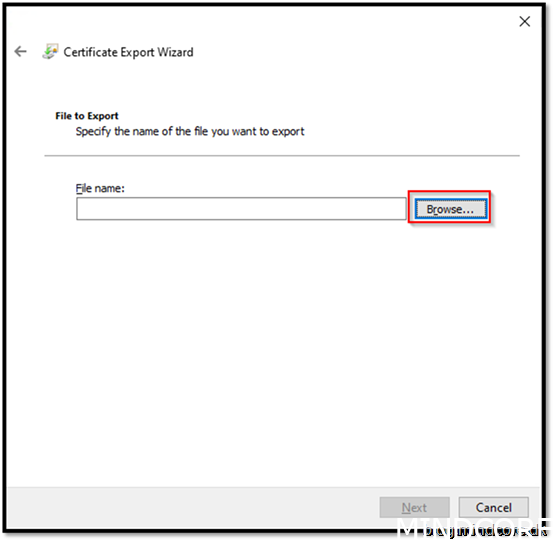
Export the certificate
Next
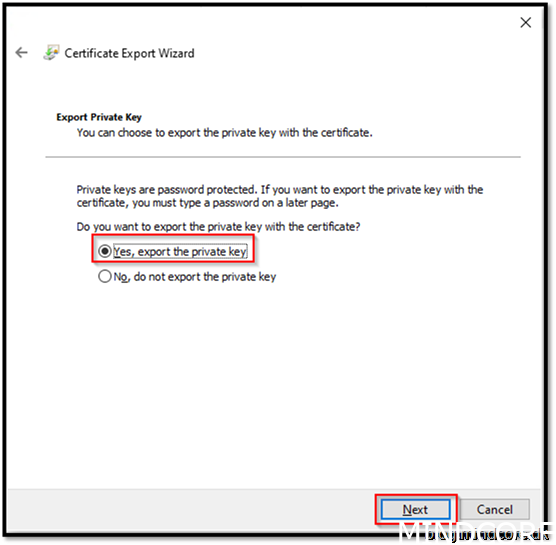
Yes, export the private key
Next
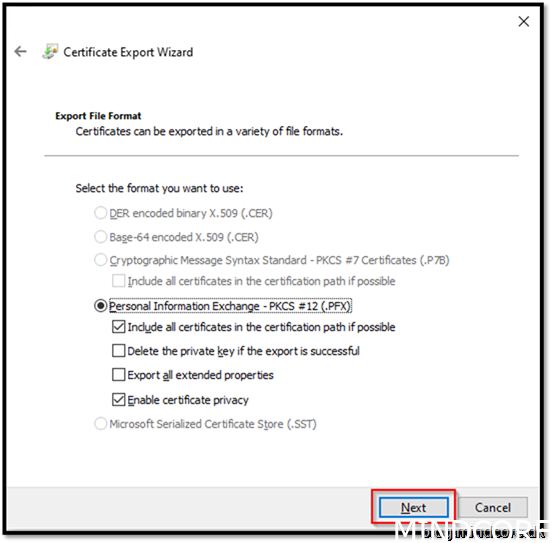
Next
Set password. (You need to remember it when we create MSIX package with it, we will be asked for the pw)
Encryption AES256-SHA256
Next

Browse
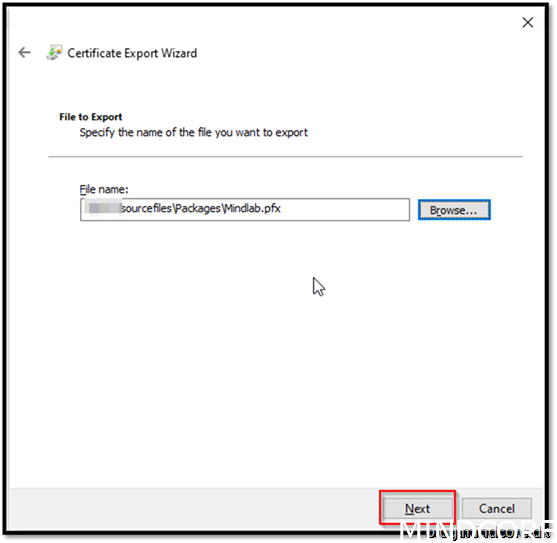
Save it to a central location (I prefer together with source files you need to package)
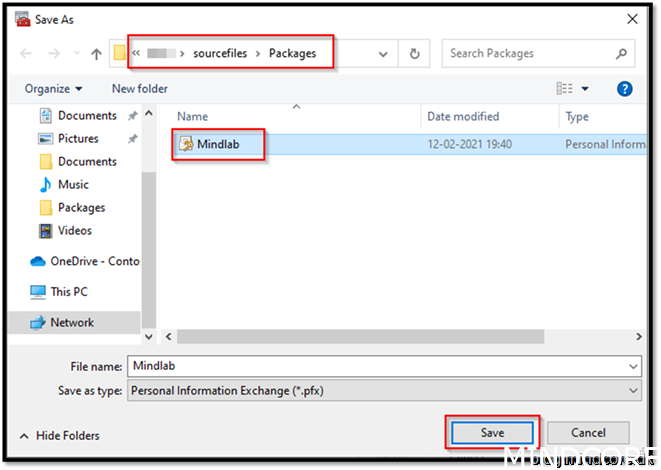
Next
Finish
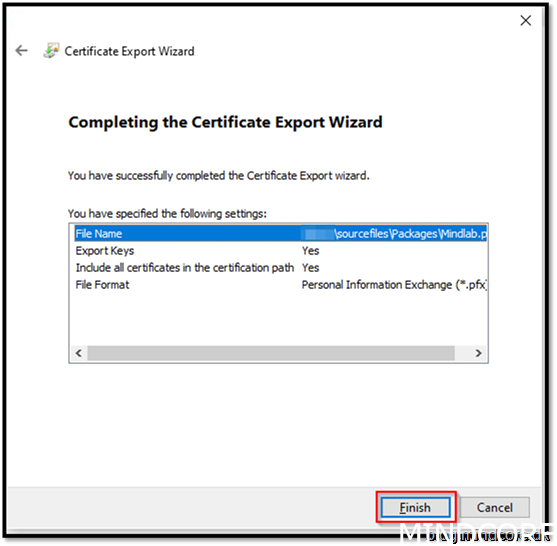
OK
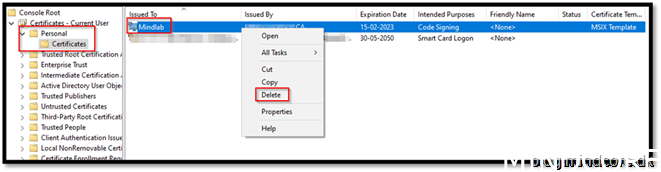
Save the certificate to a central location. Could be wise to gather all your source and stuff you need for packaging.
You can delete the cert from your store now. As it is not needed.
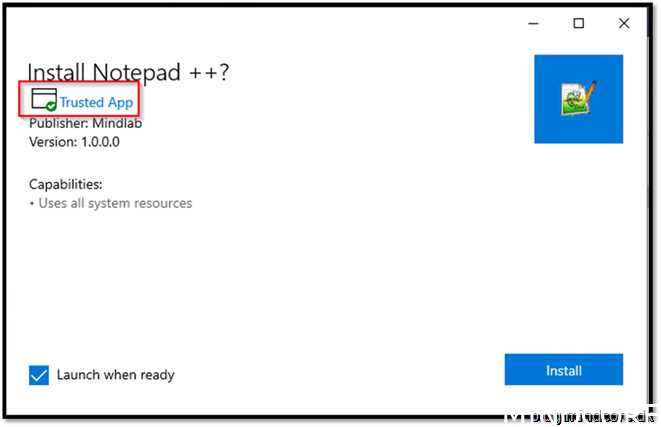
Now that we package apps with that certificate, we will see this sign when executing it on a device trusting our CA:
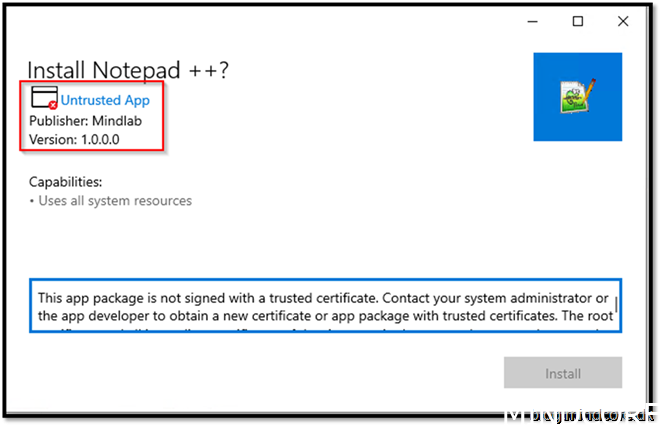
And on a device that are not trusting our CA, you don’t get to install this package.
Summary
By now we know how to build a virtual environment for our app automation through MSIX.
We also know how to create a template in our PKI and export that certificate for use when we develop MSIX packages. This is the foundation of app automation.
Stay tuned for part 3 where we will start developing a simple package: Notepad++