Cost optimization has become increasingly important with the increased use of cloud services.
Cost optimization is a complex, timeconsuming task – nevertheless the task has never been more
important.
Microsoft does provide companies with many different utilities/tools to monitor/control the cost of your
overall Azure consumption.
From our experience the majority of those tools, is managed within the single solution/resource, meaning
if you want to power off 10 computers at 18:00 in the evening, that job has to be set up 10 times.
This guide will illustrate a method to power off virtual machines, that is not needed
when your employee is no longer at work, and at the same time power those machines back on, when
your employee is getting back to work the next morning – all controlled using tag on computers.
Prerequisites
- Automation Account
- Schedules
- Variables
- Runbooks
- Azure Run As Account
- Powershell
- Intermediate understanding of Access Control (IAM)
Automation Account
First step is to create the Automation Account
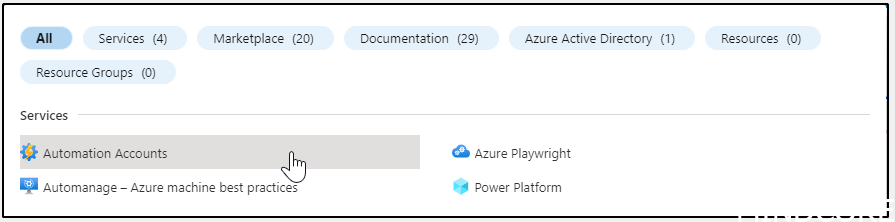
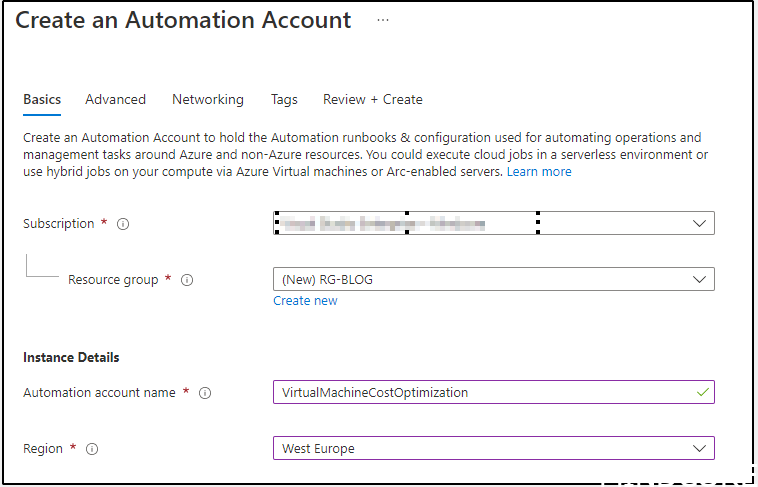
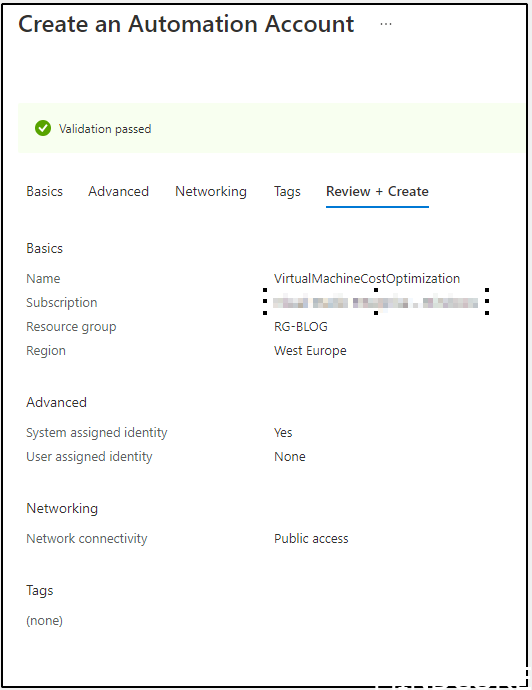
Create the Automation Account.
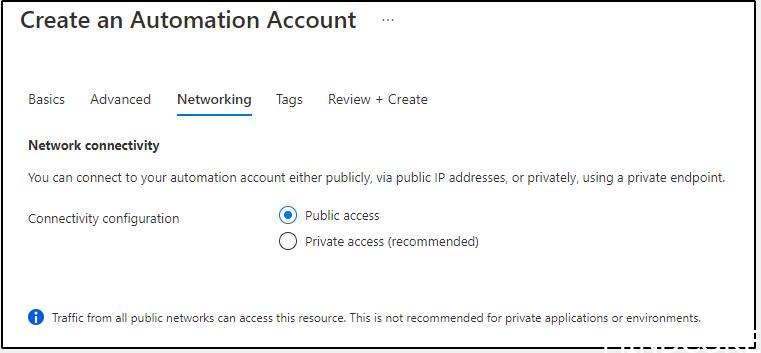
If possible, you should select “Private access” and assign a private endpoint to your Automation Account.
This guide will not cover this part, as the focus is not Automation Accounts in depth.
“The Service Account”
Go to your newly deployed Automation Account and select “Run as accounts”
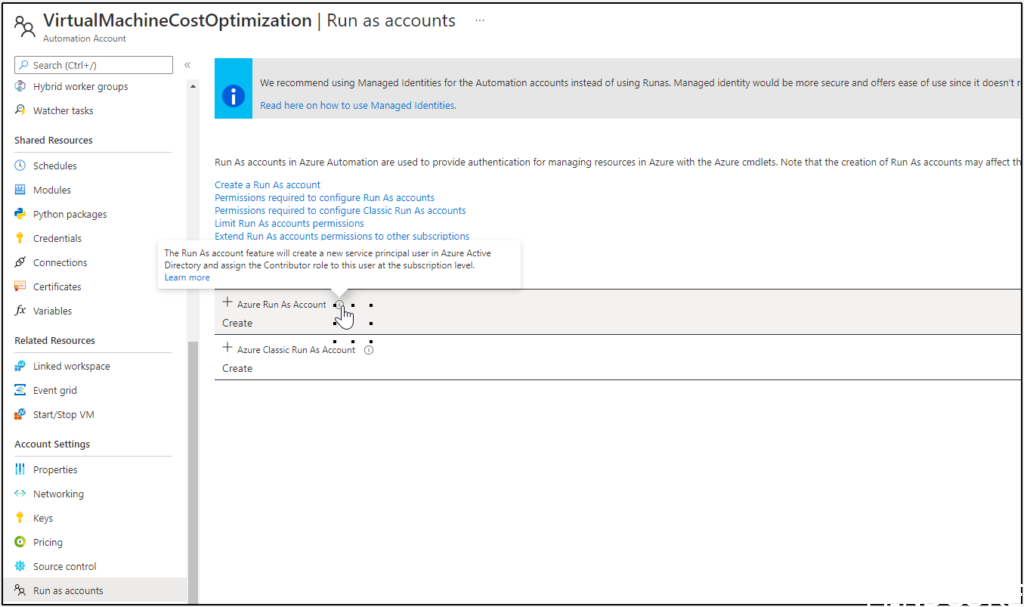
Please notice, that this account is automatically granted the contributor role on your subscription. In short
this means you will be able to do almost everything without any issues. From a security perspective, this
is, for this specific solution, way too many rights to accomplish what we want the Automation Account to
do.
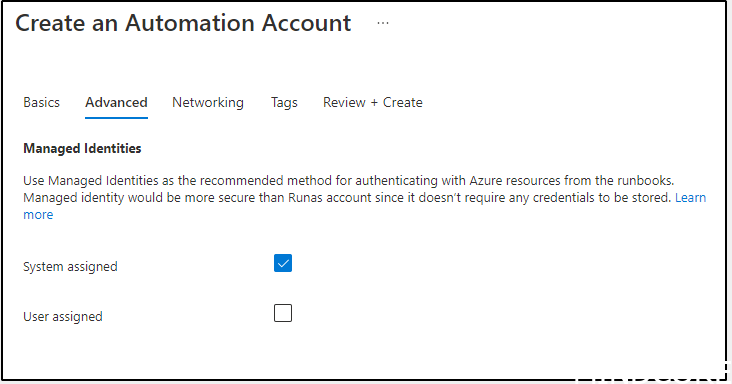
Basically by doing this, an app registration is now created within your Azure Active Directory.

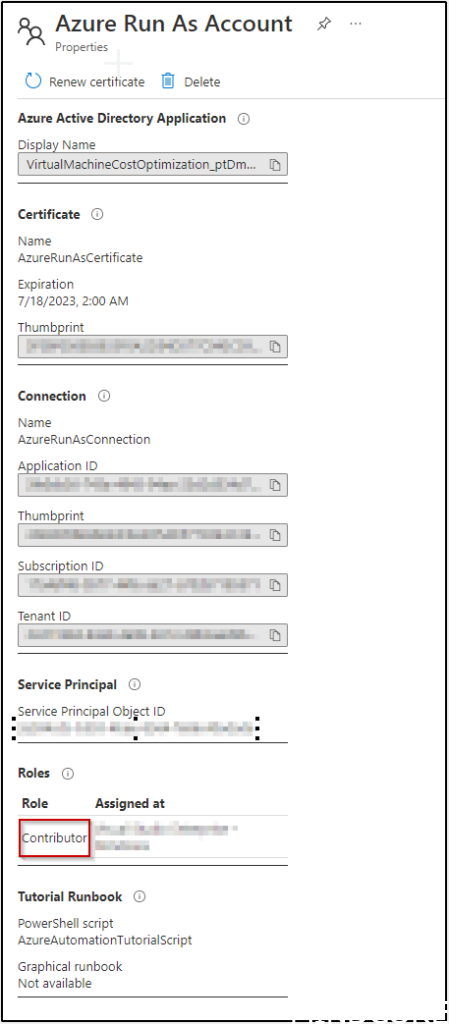
The RBAC on your subscription
As just mentioned, this managed identity, was assigned with the “Contributor” role on your subscription.
We do not need this identity to contribute with much – we just want it to start/stop virtual machines.
Go to your subscription, and remove it
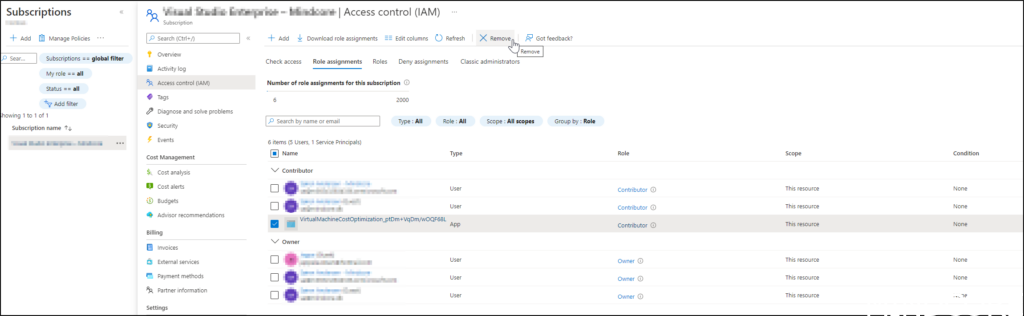
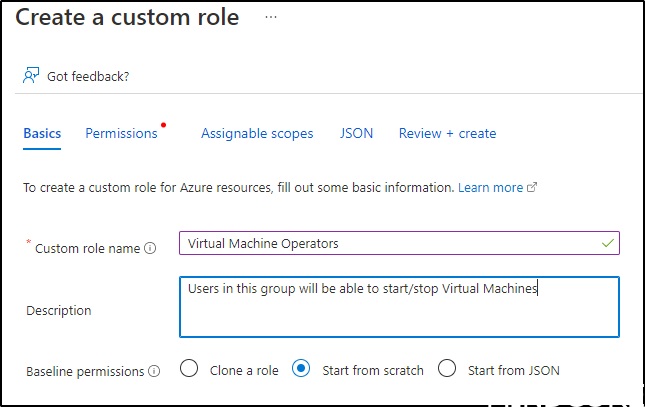
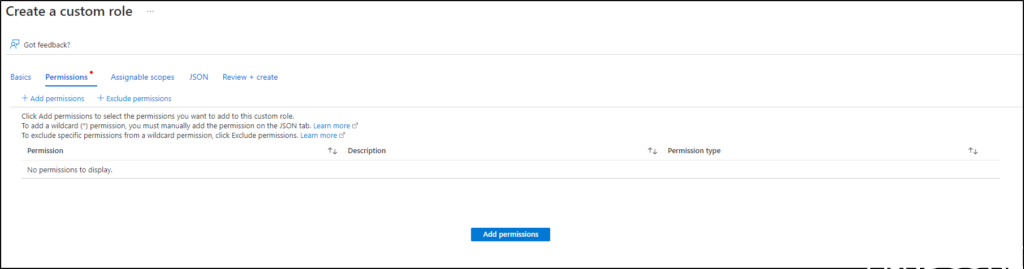
Next you need to add a custom role, which can start/stop/restart virtual machines
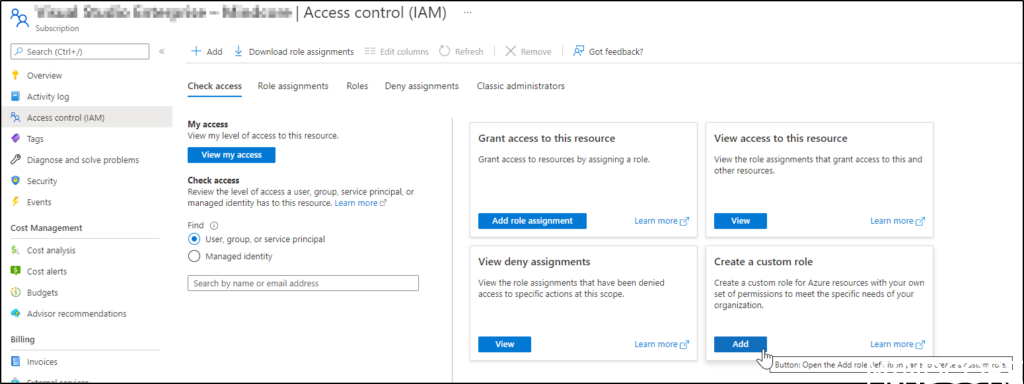
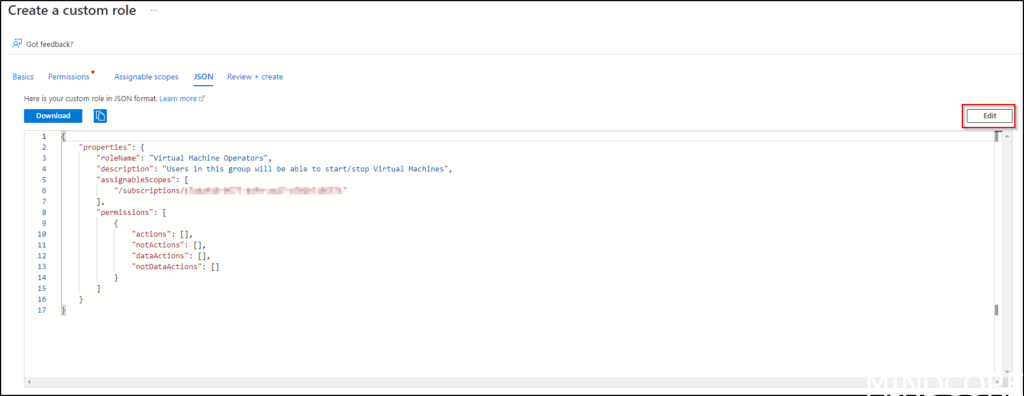
Insert this code in the editor – replace “YOURSUBSCRIPTIONID” before inserting
{
"properties": {
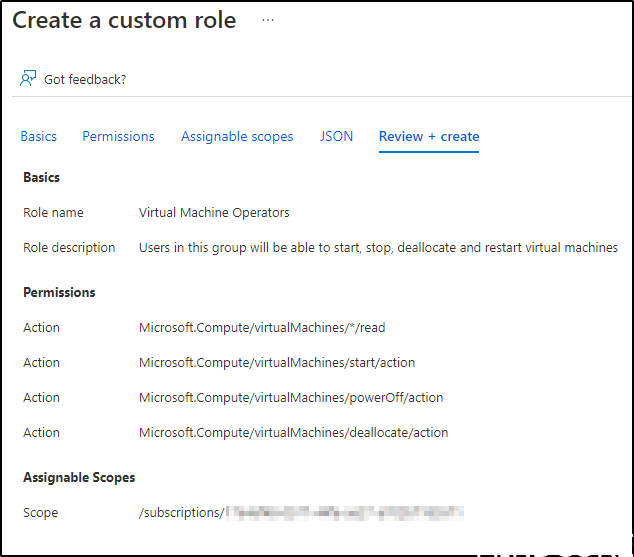
"roleName": "Virtual Machine Operators",
"description": "Users in this group will be able to start, stop, deallocate and restart virtual machines",
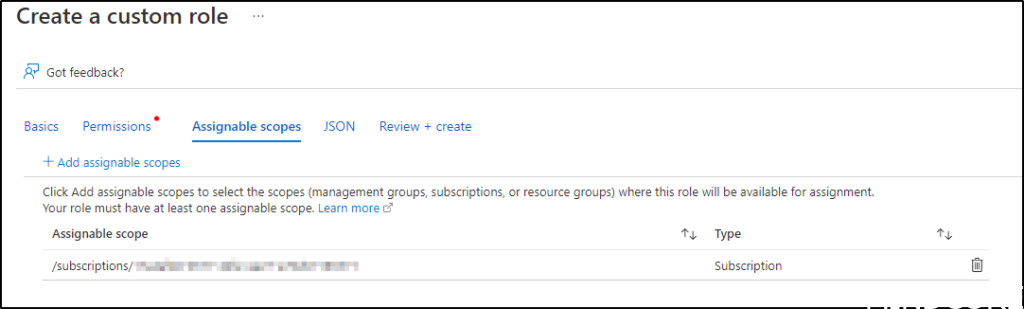
"assignableScopes": [ "/subscriptions/YOURSUBSCRIPTIONID" ],
"permissions": [
{
"actions": [ "Microsoft.Compute/virtualMachines/*/read",
"Microsoft.Compute/virtualMachines/start/action", "Microsoft.Compute/virtualMachines/powerOff/action", "Microsoft.Compute/virtualMachines/deallocate/action" ],
"notActions": [],
"dataActions": [],
"notDataActions": []
}
]
}
}
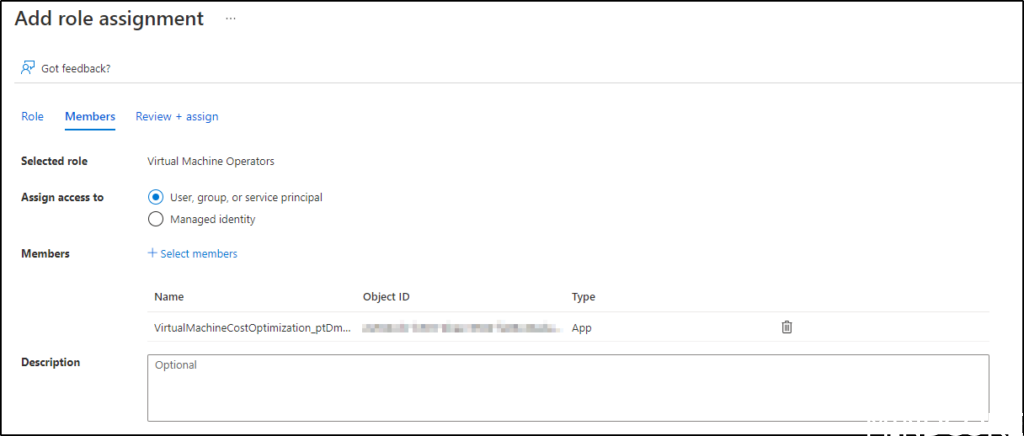
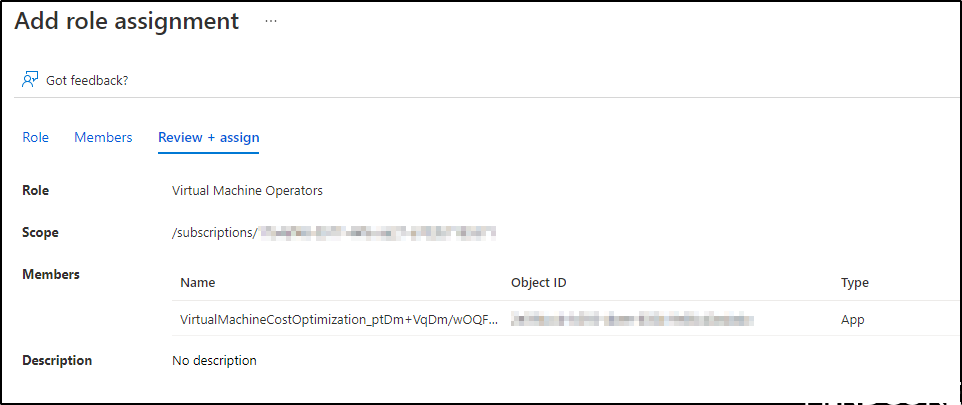
Find your custom role (Virtual Machine Operators) and make the account created in previous step,
member of this group.

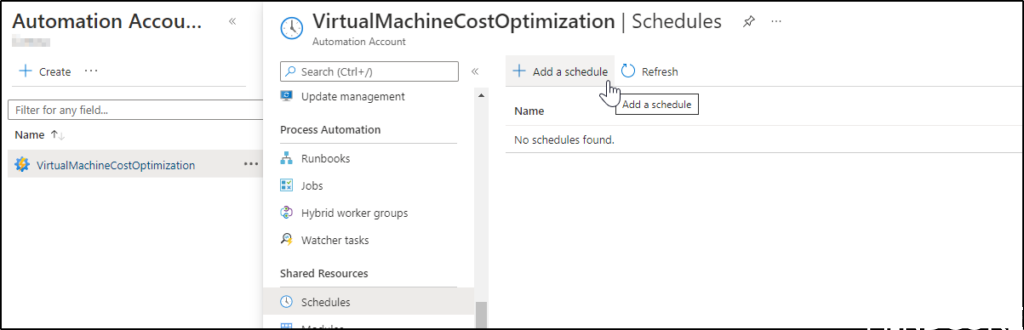
Back to the Automation Account
Create the schedules you need for this solution. You need 1 schedule to power off virtual machines, and 1
schedule to power on virtual machines
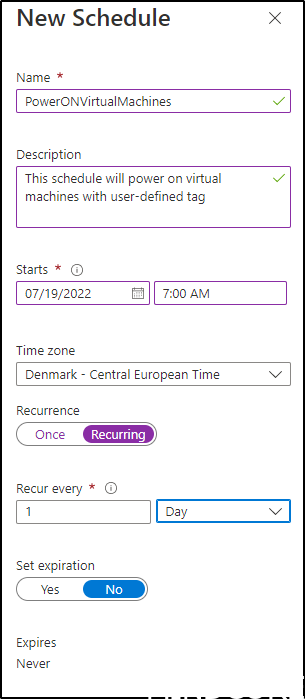
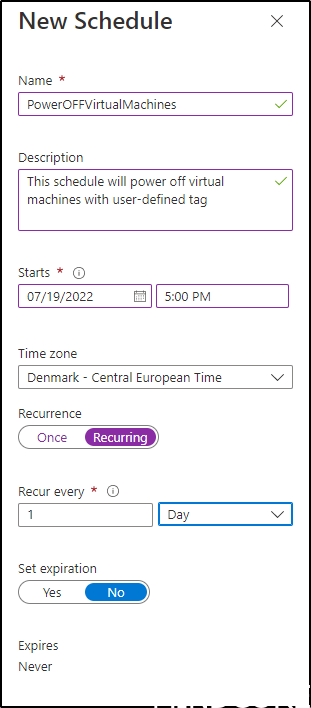
Please notice this specific setup will start computers at 07:00 every morning, and power off computers at
17:00 every afternoon.
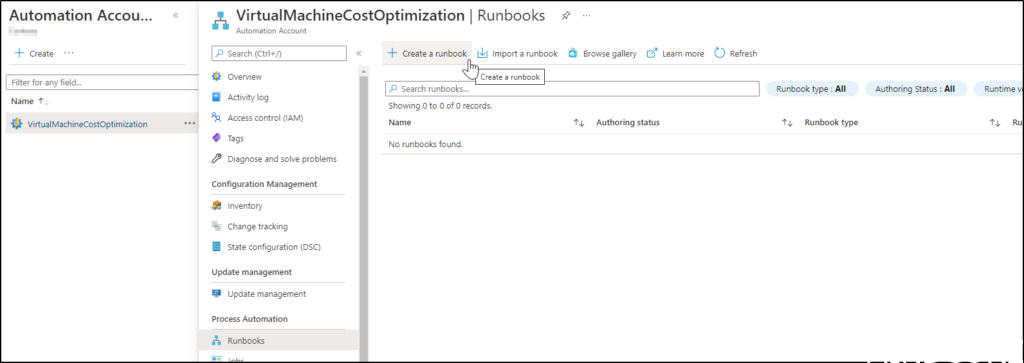
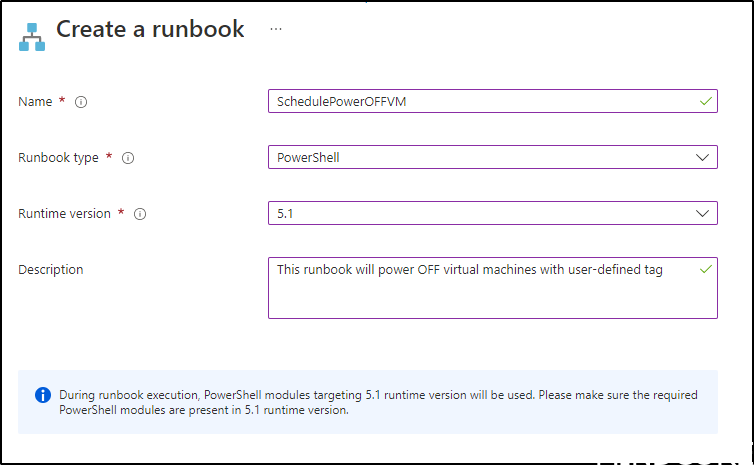
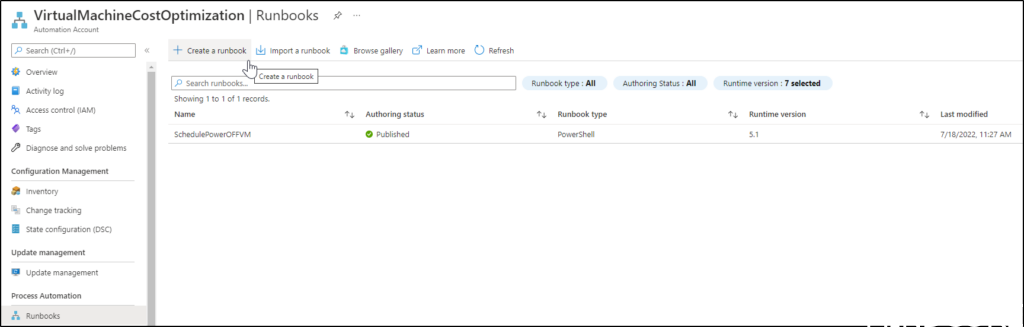
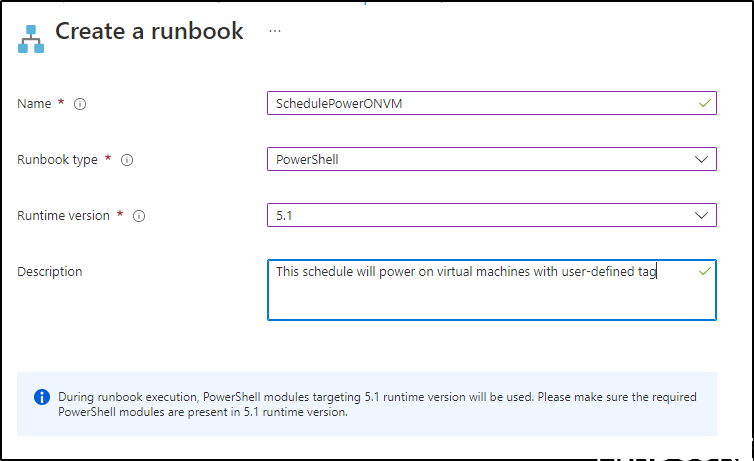
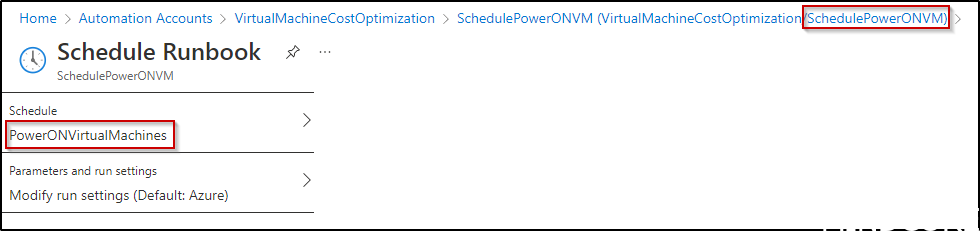
Next you need to set up the 2 runbooks, which will eventually power off/on your Virtual Machines based
on your tagging.
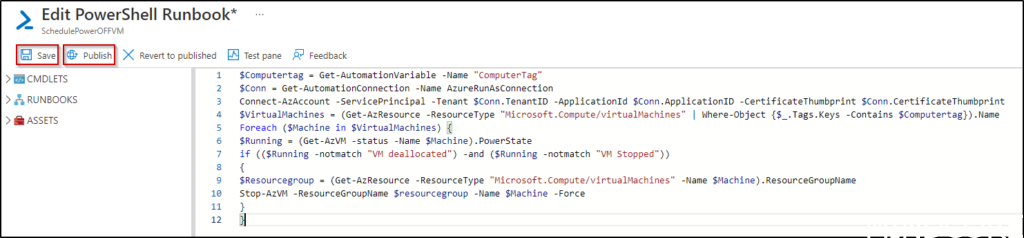
The power off runbook
$Computertag = Get-AutomationVariable -Name "ComputerTag"
$Conn = Get-AutomationConnection -Name AzureRunAsConnection
Connect-AzAccount -ServicePrincipal -Tenant $Conn.TenantID -ApplicationId $Conn.ApplicationID -CertificateThumbprint $Conn.CertificateThumbprint
$VirtualMachines = (Get-AzResource -ResourceType "Microsoft.Compute/virtualMachines" | Where-Object {$_.Tags.Keys -Contains $Computertag}).Name
Foreach ($Machine in $VirtualMachines) {
$Running = (Get-AzVM -status -Name $Machine).PowerState
if (($Running -notmatch "VM deallocated") -and ($Running -notmatch "VM Stopped"))
{
$Resourcegroup = (Get-AzResource -ResourceType "Microsoft.Compute/virtualMachines" -Name $Machine).ResourceGroupName
Stop-AzVM -ResourceGroupName $resourcegroup -Name $Machine -Force
}
}
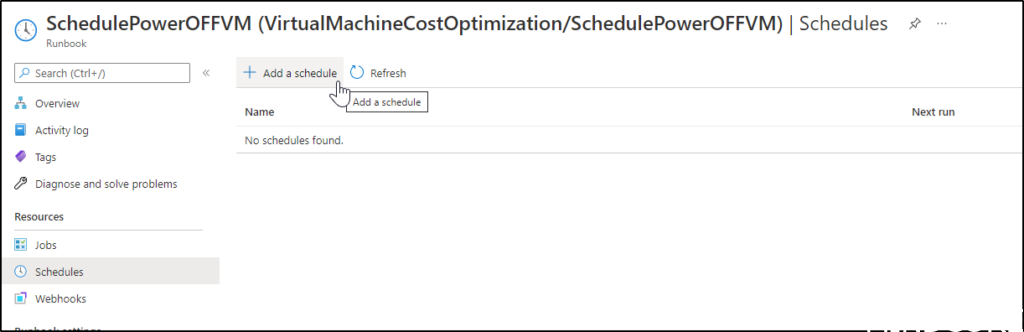
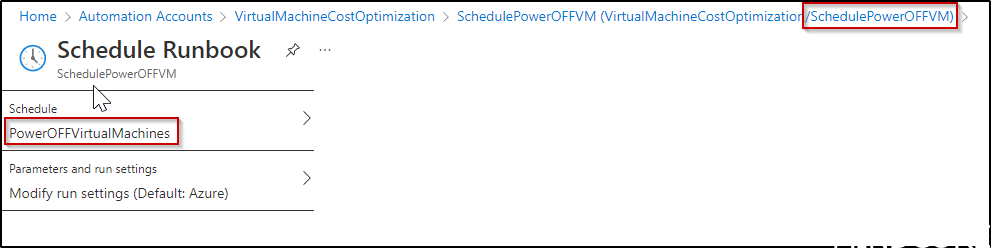
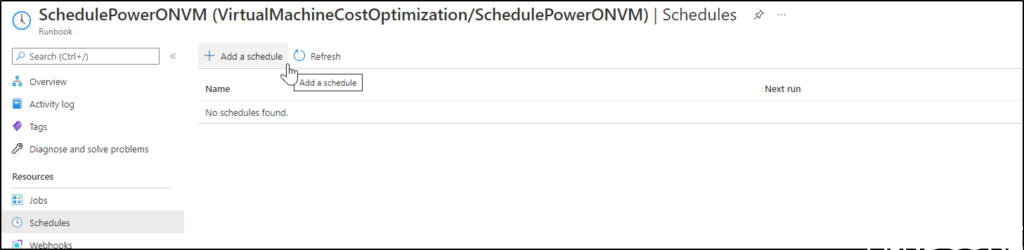
After this, you need to assign a schedule to this runbook
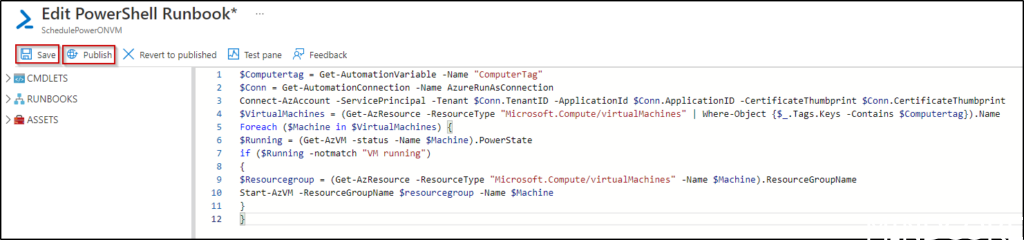
The power on runbook
$Computertag = Get-AutomationVariable -Name "ComputerTag"
$Conn = Get-AutomationConnection -Name AzureRunAsConnection
Connect-AzAccount -ServicePrincipal -Tenant $Conn.TenantID -ApplicationId $Conn.ApplicationID -CertificateThumbprint $Conn.CertificateThumbprint
$VirtualMachines = (Get-AzResource -ResourceType "Microsoft.Compute/virtualMachines" | Where-Object {$_.Tags.Keys -Contains $Computertag}).Name
Foreach ($Machine in $VirtualMachines) {
$Running = (Get-AzVM -status -Name $Machine).PowerState
if ($Running -notmatch "VM running"){
$Resourcegroup = (Get-AzResource -ResourceType "Microsoft.Compute/virtualMachines" -Name $Machine).ResourceGroupName
Start-AzVM -ResourceGroupName $resourcegroup -Name $Machine
}}
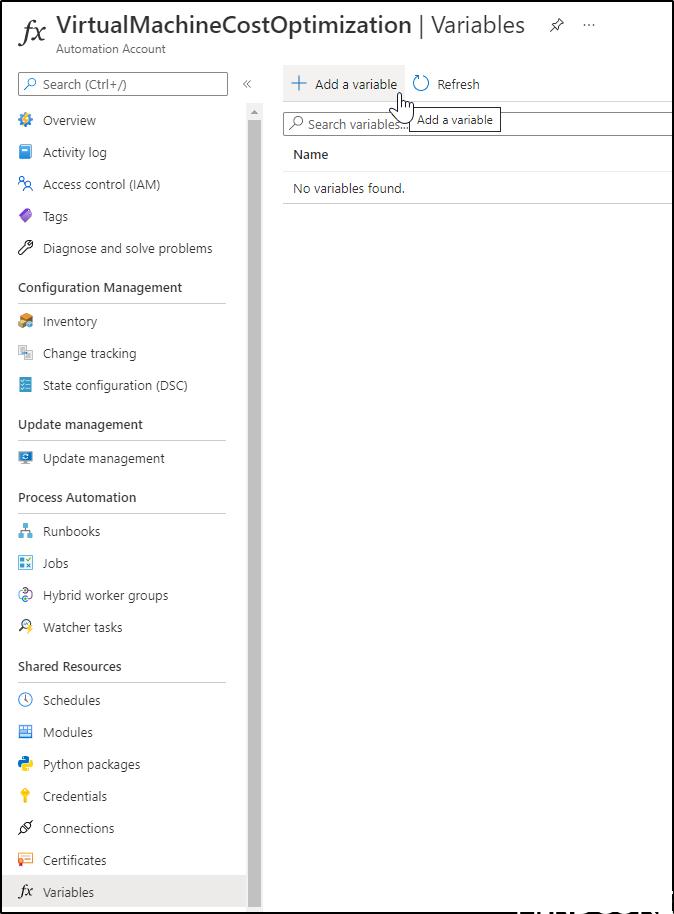
Add a variable
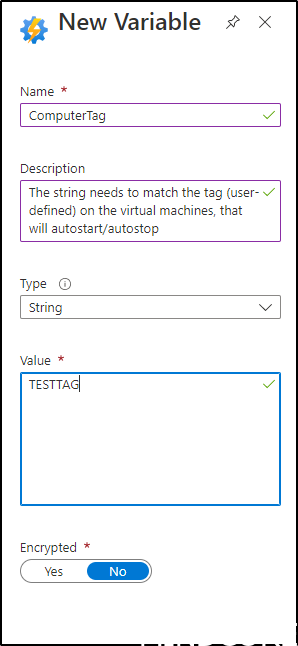
Please pay attention to the statement, that will check for the tag on the virtual machine. The statement
has a “contains” expression.
If you have tagged other virtual machines with anything with “TESTTAG-…”, these VM’s will also be
affected by this automated power off/on runbooks.
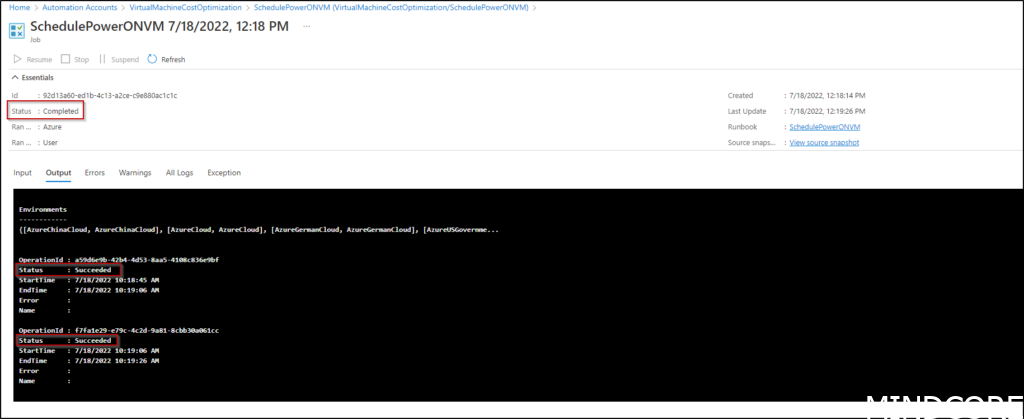
The result
In my demolab I have 2 VM’s; VM1 & VM2
Both machines are tagged “TESTTAG”

When I run “SchedulePowerONVM” runbook, this is the result

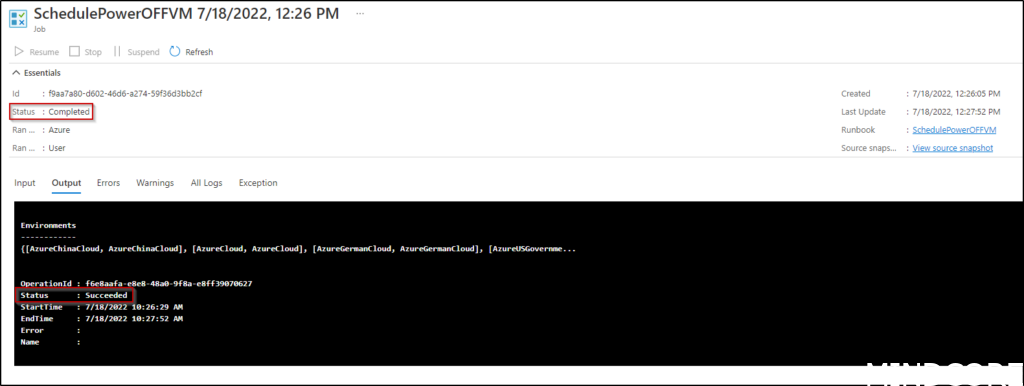
When modifying tag on one of the VM’s to “TESTAG”, and afterwards run “SchedulePowerOFFVM”
runbook, this is the result


Stopped vs Stopped (deallocated)
This way of powering off virtual machines, will make the VM enter state “Stopped (deallocated)”.
If your VM’s, for whatever reason, may not enter this state, you should add “-StayProvisioned” parameter
in the power off runbook like below
Stop-AzVM -ResourceGroupName $resourcegroup -Name $Machine -StayProvisioned -Force
Status Stopped
When you are logged in to the operating system of an Azure VM, you can issue a command to shut down
the server. This will kick you out of the OS and stop all processes, but will maintain the allocated
hardware (including the IP addresses currently assigned). If you find the VM in the Azure console, you’ll
see the state listed as “Stopped”.
The biggest thing you need to know about this state is that you are still
being charged by the hour for this instance.
Status Stopped (deallocated)
The other way to stop your virtual machine is through Azure itself, whether that’s through the console,
Powershell or the Azure CLI. When you stop a VM through Azure, rather than through the OS, it goes into
a “Stopped (deallocated)” state.
This means that any non-static public IP’s will be released, but you’ll also
stop paying for the VM’s compute costs.