Introduction
If you are working with system management, you also come across applications that need to be mass deployed to your endpoints. Before that can happen the vendor either deliver unattended parameters to their installation process or they deliver another installation format like MSI or MSIX.
Every business can benefit from standardizing software deployment and here I will try to help you start doing that.
By going through these steps, you will have a basic setup to start building MSIX packages.
I recommend to read the fundamentals of MSIX which can be downloaded here. Tim Mangan, Bogdan Mitrache and Kevin Kaminski did an excellent job.
Requirements
- Hyper-V
- Minimum 8GB RAM
- 50GB free HDD
- 2GHZ processor
Setup your LAB
Install Hyper-V
Right click your StartMenu
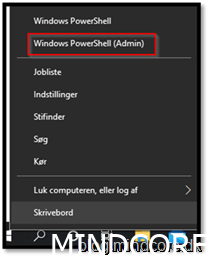
Open PowerShell with admin rights
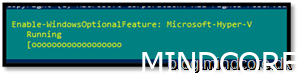
Paste this command to the PowerShell console
Enable-WindowsOptionalFeature -Online -FeatureName Microsoft-Hyper-V -All

Restart if needed
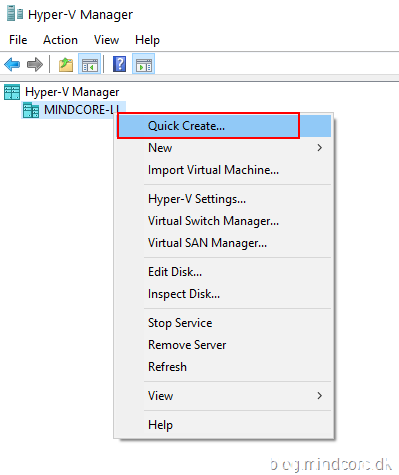
Start Hyper-v
Right click your environment and click “Quick Create”
Choose MSIX Packaging Tool Environment
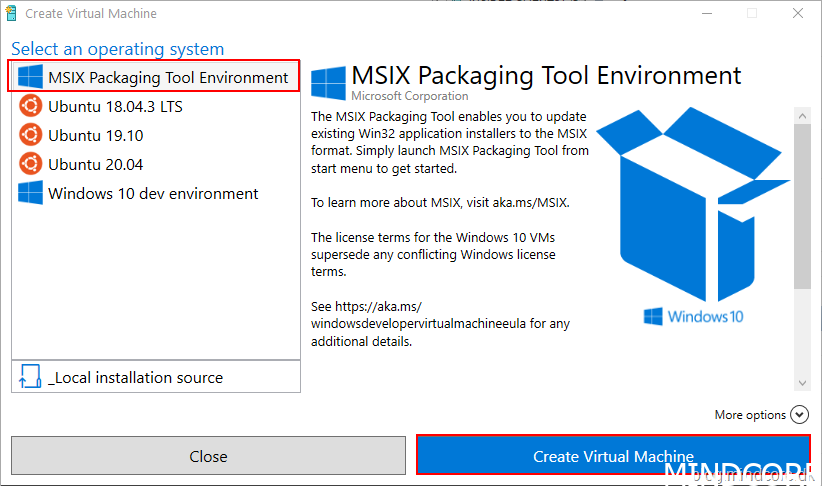
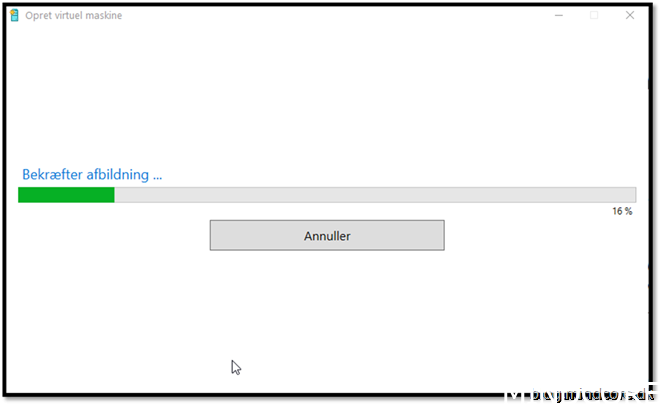
Create Virtual Machine
It will start download ~ 5.6 gb
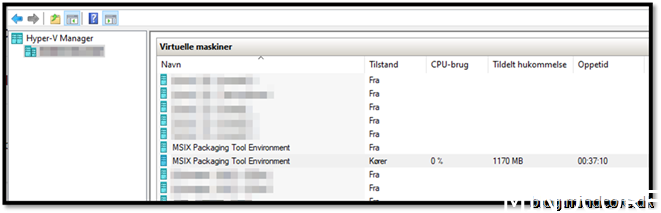
Start your newly imported MSIX Packaging Tool Environment
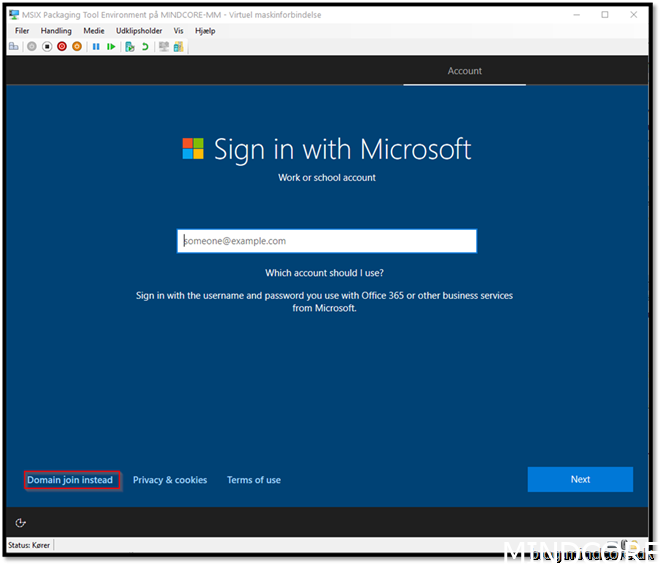
Let the virtual machine configure and wait for OOBE to kick in. Make sure your Hyper-V is connected to the internet and when you reach this screen choose Domain join instead:
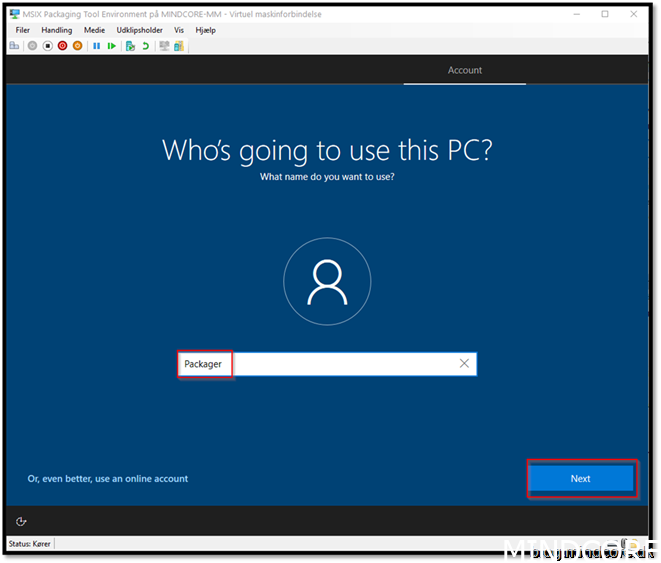
Add a username and click next
Type a password and click next
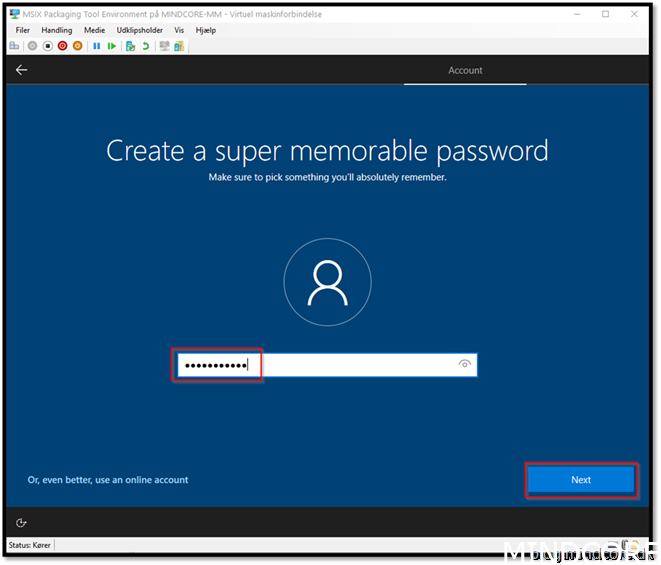
Retype your password and click next

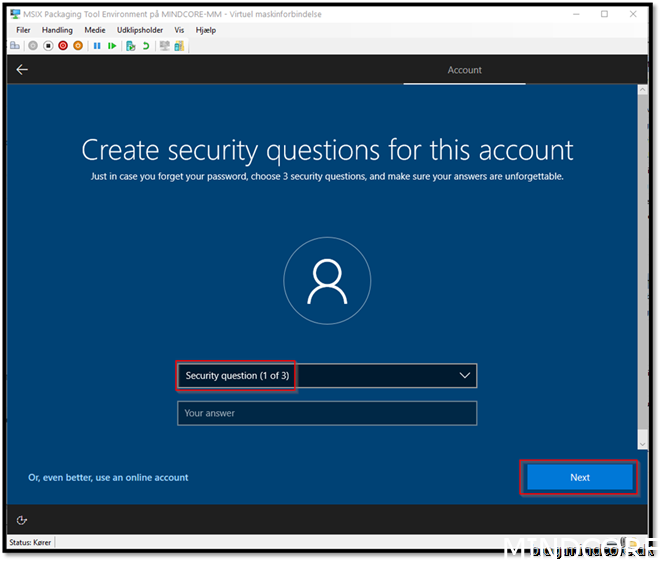
Go through the questions and click next (I’ll skip the next couple of questions)
Don’t use online speech recognition and click accept

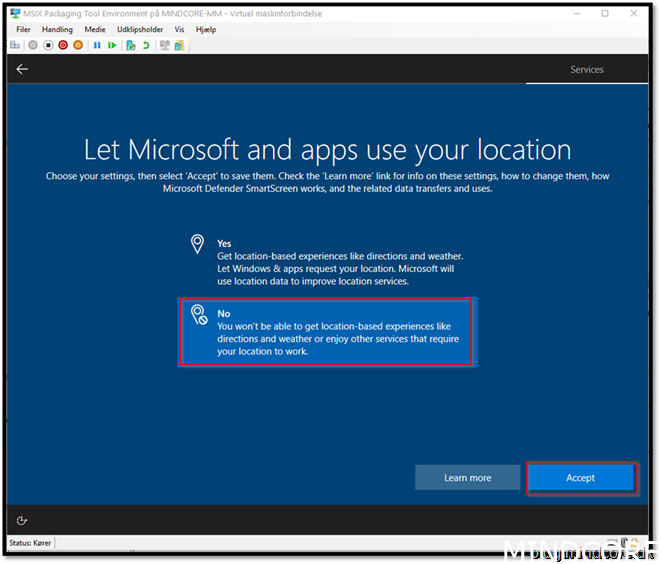
Choose No and click Accept
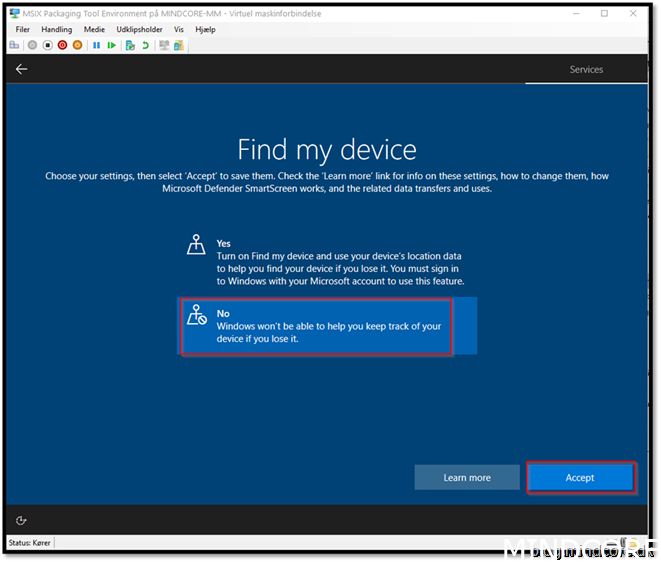
If your virtual machine get lost, this feature isn’t going to help you click accept
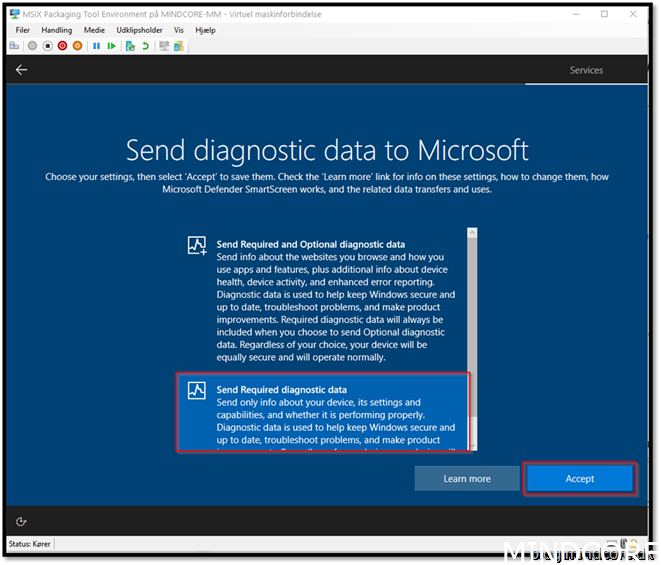
Send required diagnostic data click accept
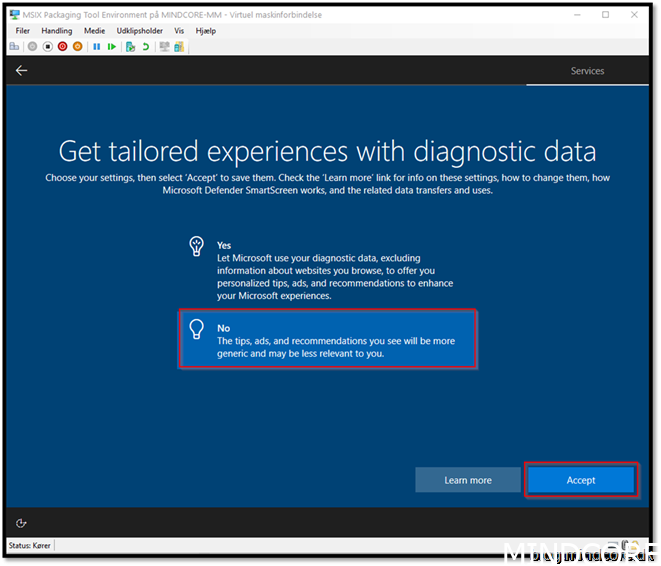
Say NO and click accept

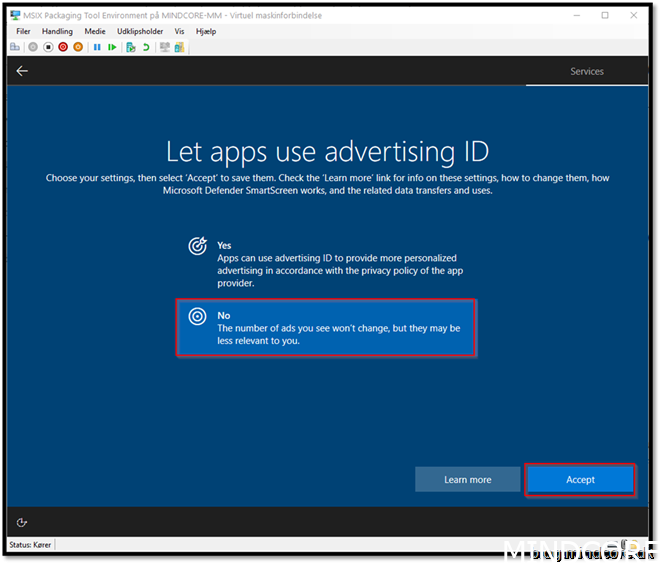
Say NO and click accept
Say No and click accept
The virtual machine will logon and you will have all the resources you need to get started.
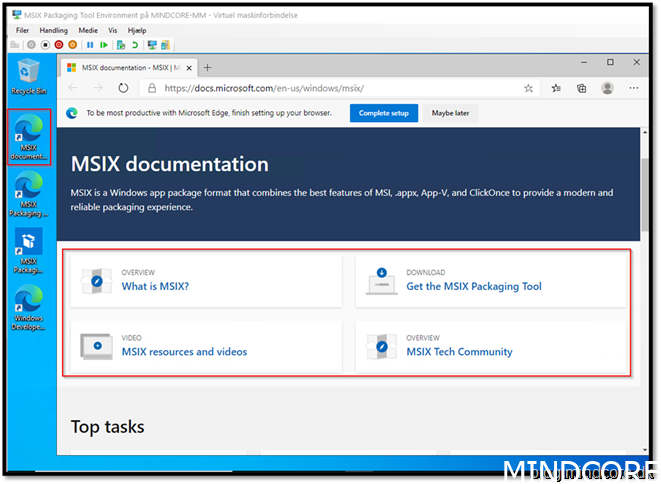
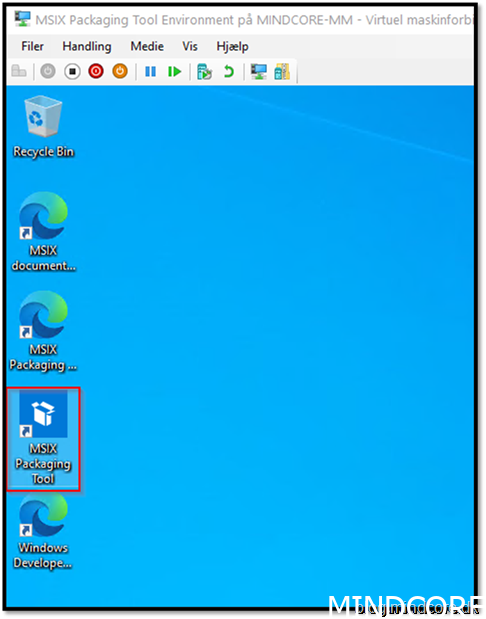
Start the packaging tool
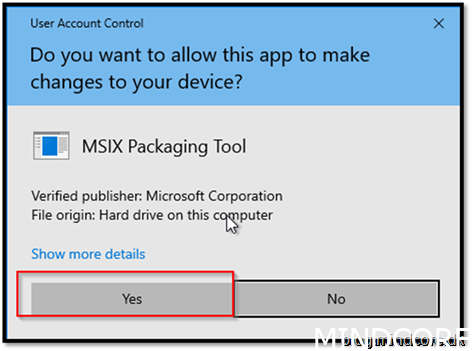
Click yes
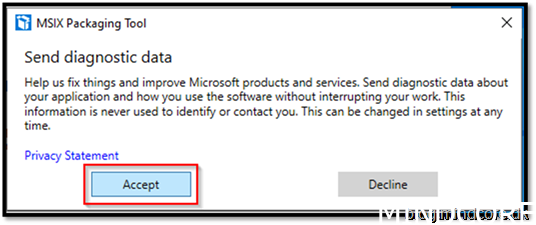
Accept
Open the application package. (we do that because we need to install MSIX packaging Tool Driver.)
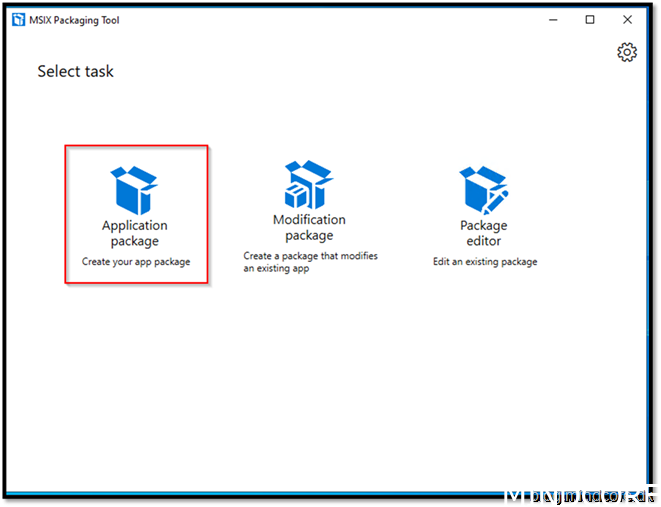
Choose Create package on this computer
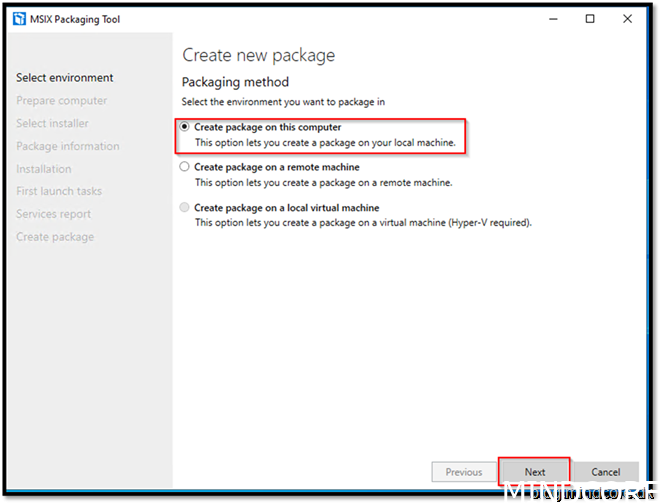
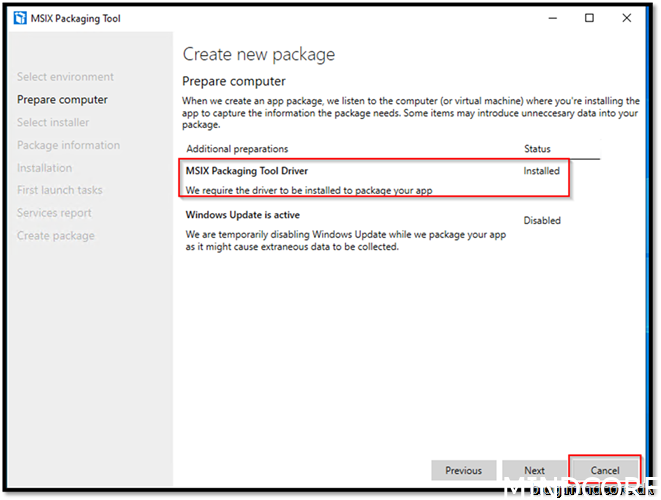
Now that we got the tool installed, we cancel the packaging process
Let’s configure the virtual machine for better and cleaner packages
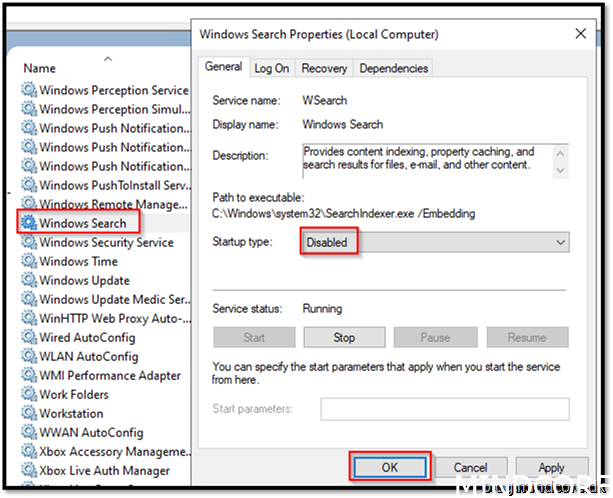
Run commandline: Services.msc
Disable Windows Search
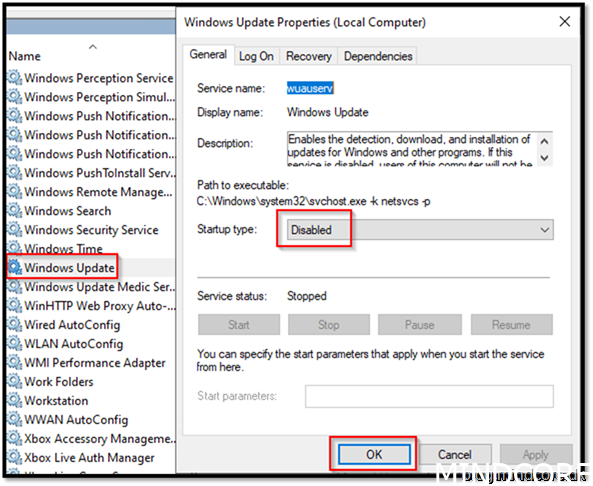
Disable Windows update
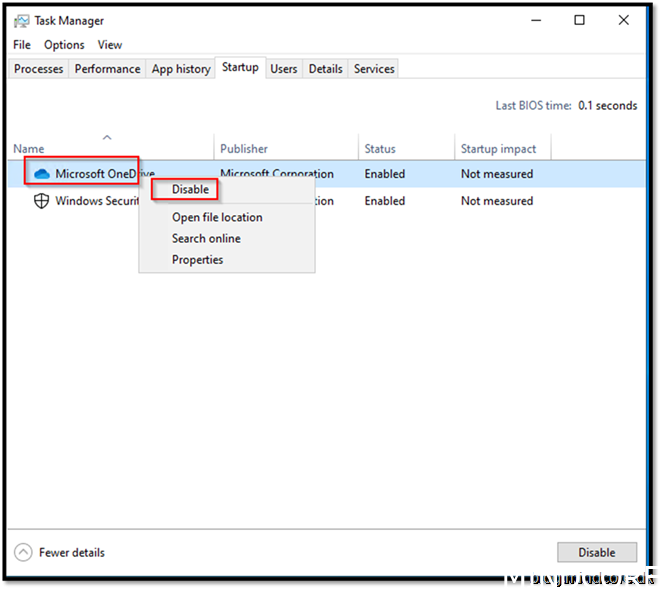
For better startup performance stop all unnecessary apps that start with windows
Start task Manager
Restart the virtual machine and log back into it.
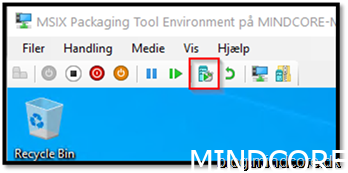
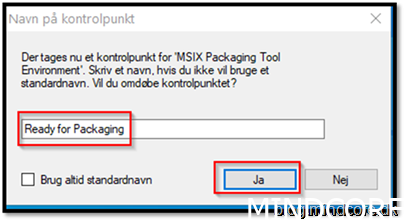
Create snapshot
Give it a name and click yes
Summary
By now you should be familiar with your new packaging virtual machine. It is best practice to build packages on a clean machine where we can roll back and have a clean state every time we need to package.
Stay tuned for part 2 where I will cover how to obtain the certificate we will need for signing our applications.