
Introduction
In the last “MSIX Modern Packaging – Part 2” I showed you how to create a certificate (PFX) to use while creating MSIX packages.
In this chapter I will show you how to “capture” an easy package to MSIX.
Requirements
- Hyper-V
Start packaging MSIX
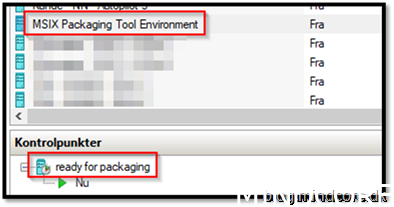
Let’s start by fire up the Hyper-V console
Find the MSIX Packaging Tool Environment and start the virtual machine. When it asks for password for the user “Packager” please login.
On the virtual machine I start by going to a central location where we store binaries and packages.
(biggest mistake is typically that after the packaging has happened, the virtual machine reverts, and the project went with it. Not ideal. But hey, you get good at repetitions )
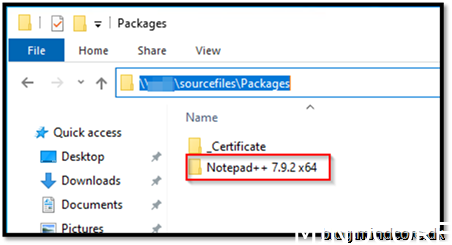
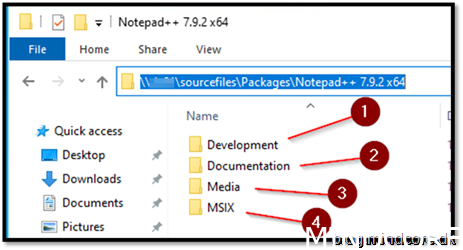
1. Development: if you have any scripts, projects or other tools needed during the packaging.
2. Documentation: If you need to add any information to others e.g., adding the package to the deployment system or special requirements during the packaging for remembering next time.
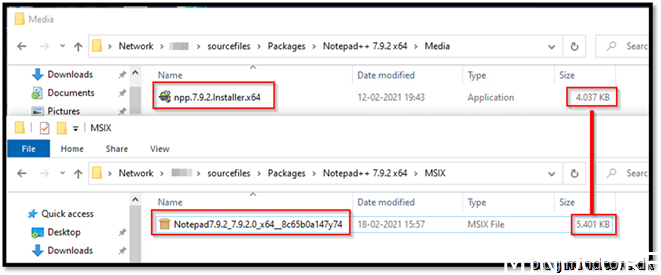
3. Media: For your original media
4. MSIX: For the result.
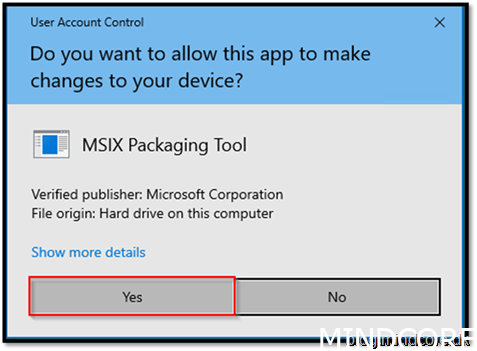
Start MSIX Packaging Tool

Click yes
Choose Application package
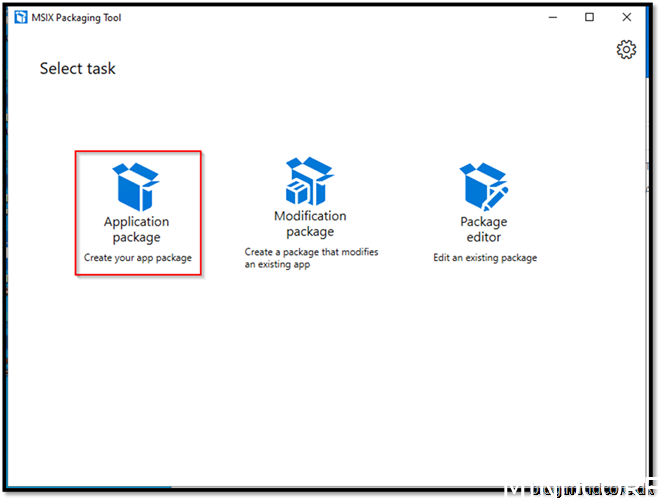
As you can see, we are presented with 3 choices here.
1. Create package on this computer, simply means we will do the scan on the local Hyper-V machine.
2. Create package on remote machine, simply connects to a remote machine and doing the scan. For further information on that topic Remote conversion setup in MSIX Packaging Tool – MSIX | Microsoft Docs
3. Create package on a local virtual machine, simply scan on a virtual machine from your host system. Please note that this only works with Hyper-V and not any other virtualization technologies like VMware or VirtualBox.
We choose to create package on this computer.
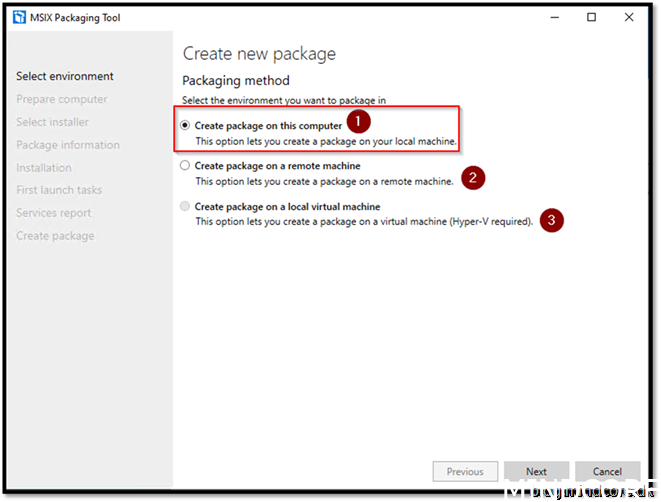
Click Next
1. Normally you would browse for your file and that would be the file executed and added to your package. Don’t do that. We will skip that part, as what if we had multiple files or some post operations we would like to capture to our app? Just skip that for now.
2. This is parameters for the file provided in step 1. Just skip that part as well.
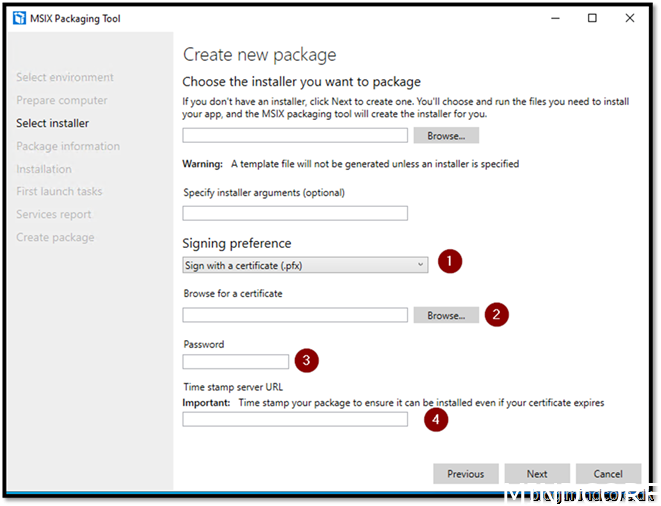
3. Press the dropdown
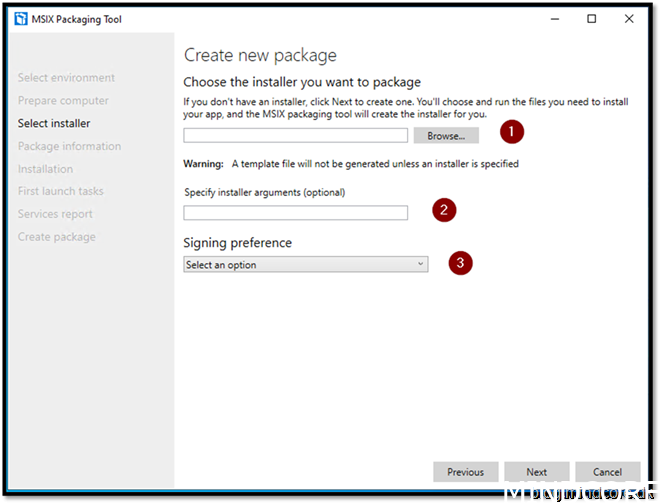
1. Sign with a certificate (.pfx)
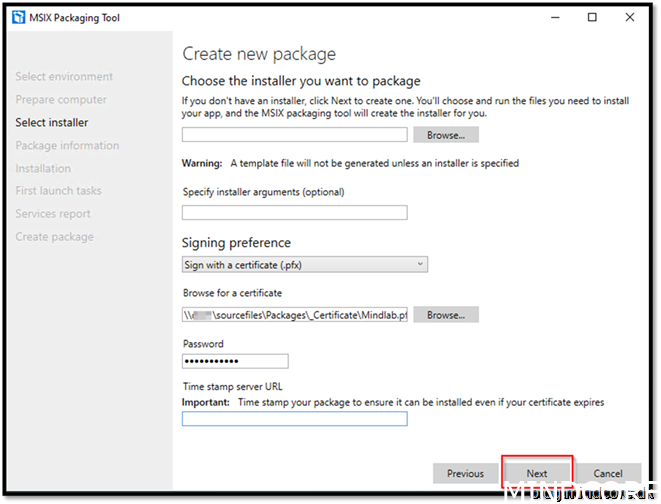
2. Browse for the pfx file which is located on the central storage.
3. Add password for the PFX file (you added that in the blog part2)
4. When signing, we highly recommend adding a timestamp to your certificate so that the validity of your certificate can outlast its expiration date! But in our case, we do not have any Timestamp URL to check against, so we leave it blank and if our certificate expire before the current version of the app, we will have to inject the new certificate to be able to do new installations.
Next
Fill out information accordingly to the application.
Note: Normally you would fill in “installation location” also, but not needed to capture Notepad++
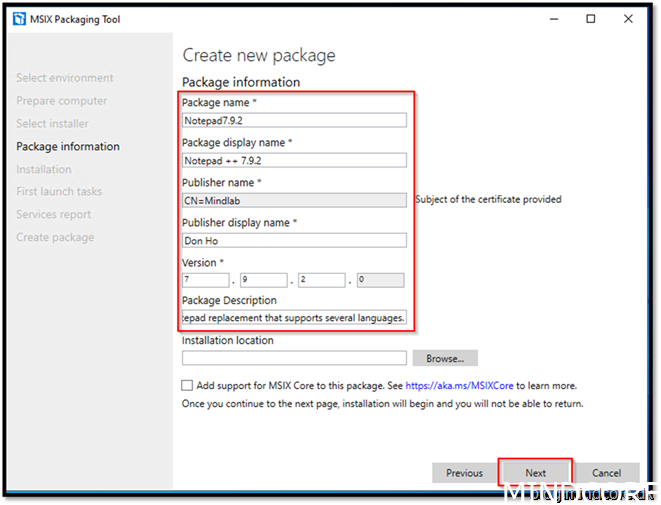
INFO: This screen is just to show where the different fields go when the app is used.
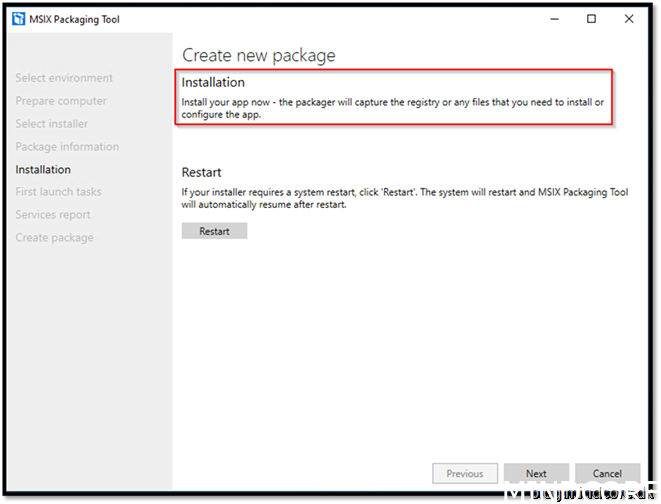
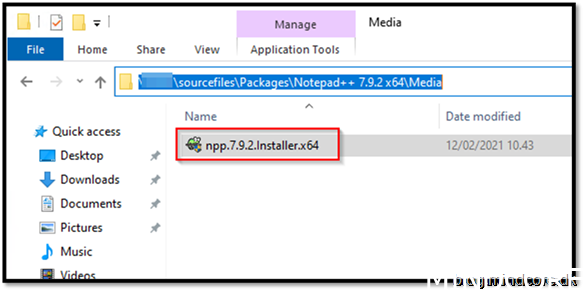
Now it is time to find the executable and do the installation. (leave the wizard in this state)
Double click the notepad ++
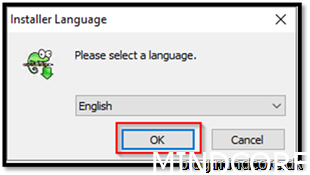
Click ok
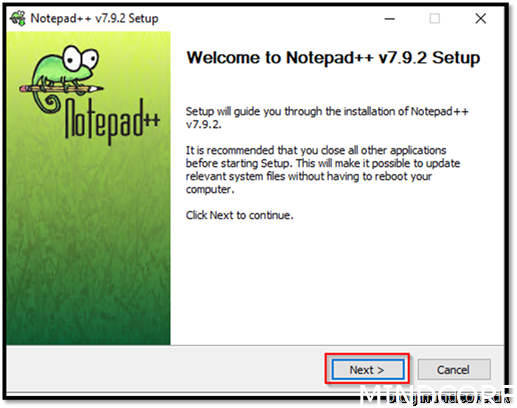
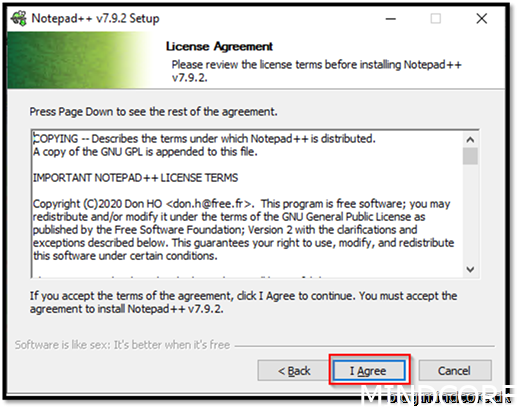
Click Next
Click I Agree
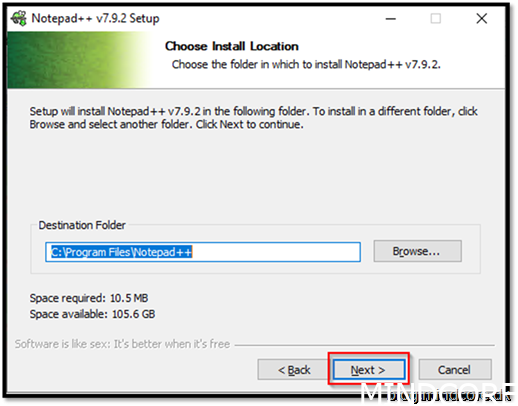
Leave default and click next
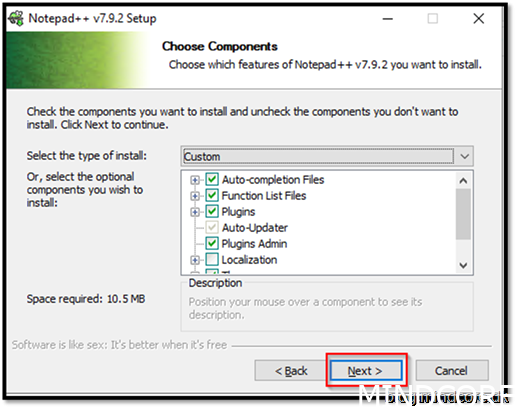
Leave default and click next
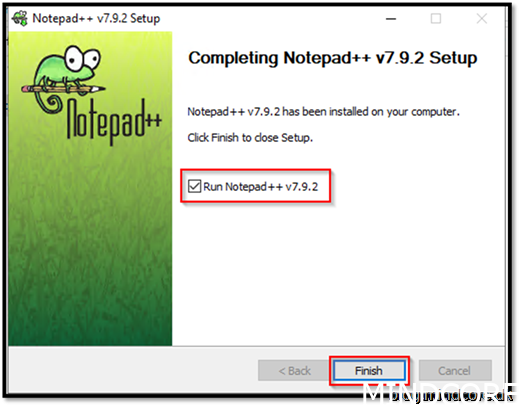
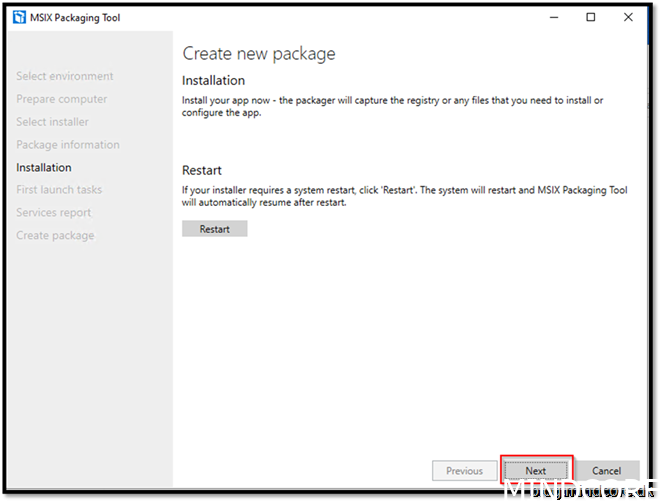
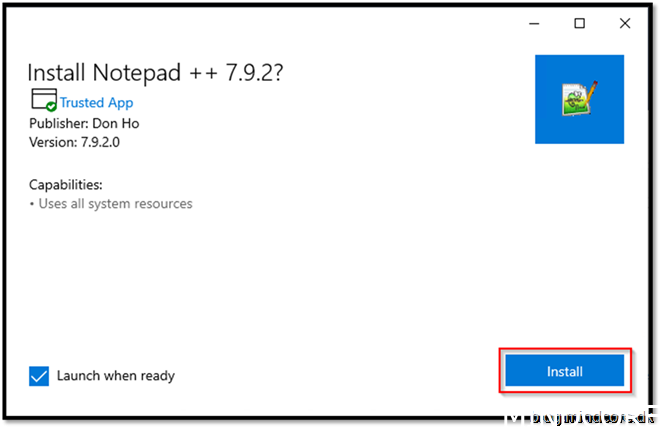
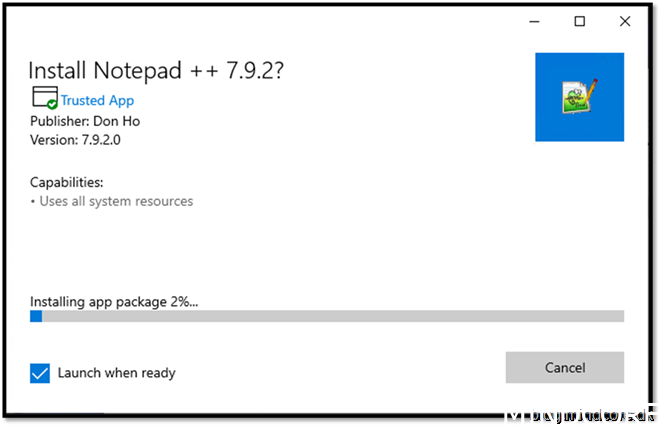
Click Install

Normally I recommend for the cleanest packages to NOT start the program, but in this case, I am interested in disabling auto updates.
Click Finish
Go to Settings -> Preferences…
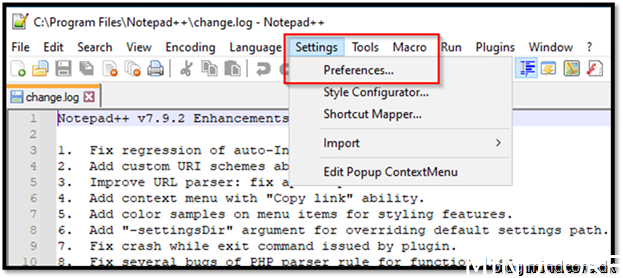
MISC. -> remove tick from Enable Notepad++ auto-updater -> close and close notepad++ app

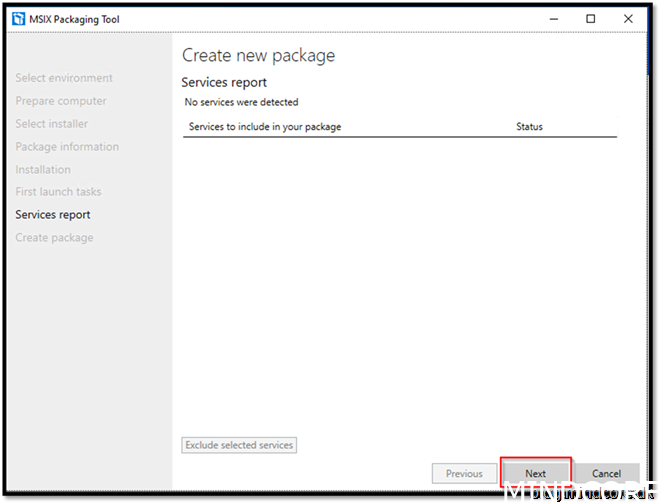
Click Next
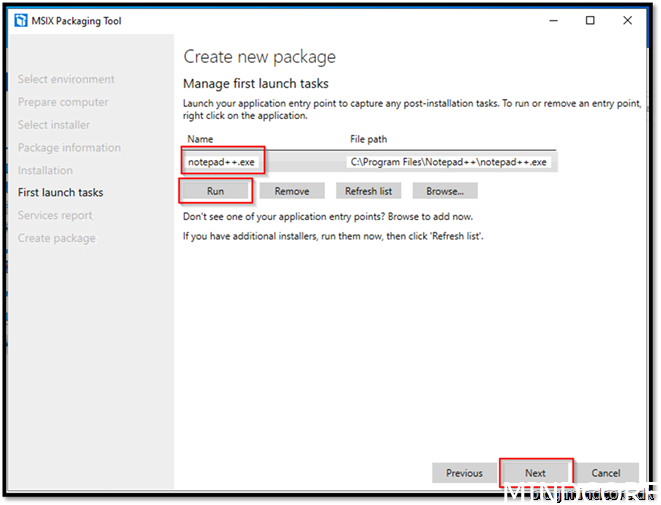
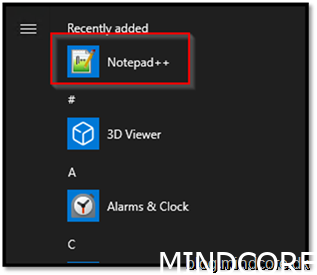
Launch your app once or twice. Click Next
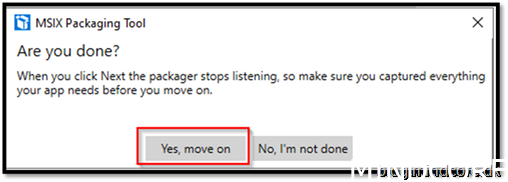
Click Yes, move on
Click Next
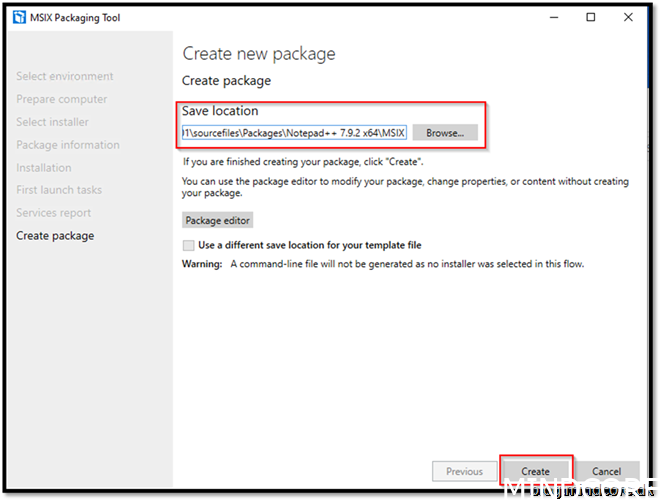
Save it to the central location in the MSIX folder we created earlier.
If you needed to do more with your package you can use the package editor, but for now press Create.
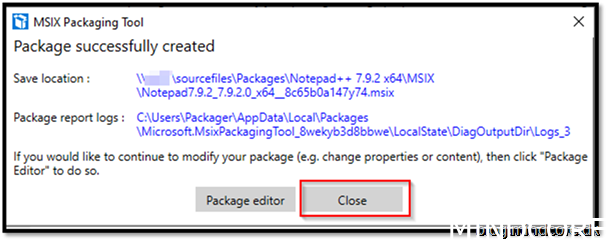
Press Close
Test the result
Go to a clean client and test your application.

Just for the fun we can compare the MSIX to the legacy installer.
Time to test the app. Double click the MSIX file
Try your new app out
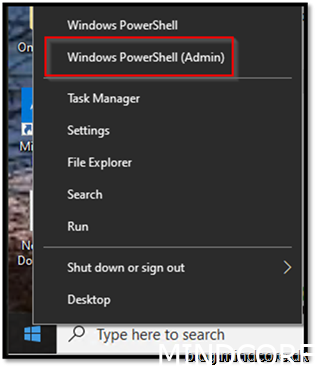
When we install the MSIX it will apply to your user and not to the device. You will not see MSIX files like normal installations in the Add/Remove programs. Instead, we should use PowerShell for that.
Fire up PowerShell
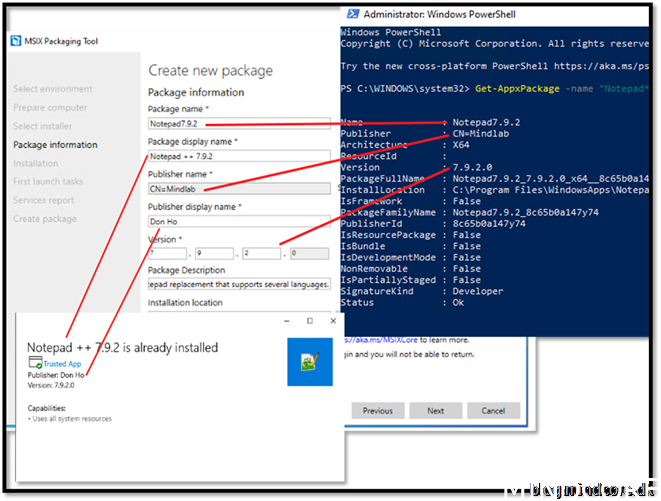
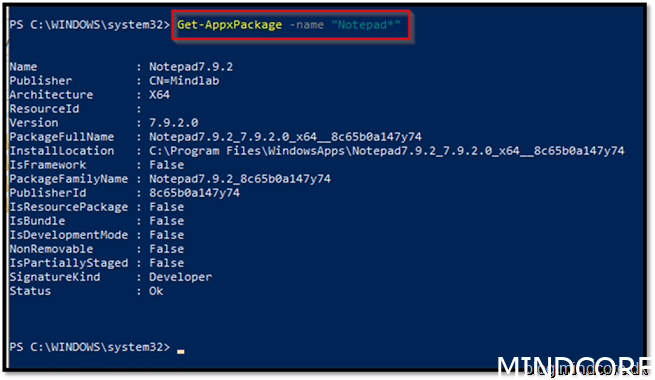
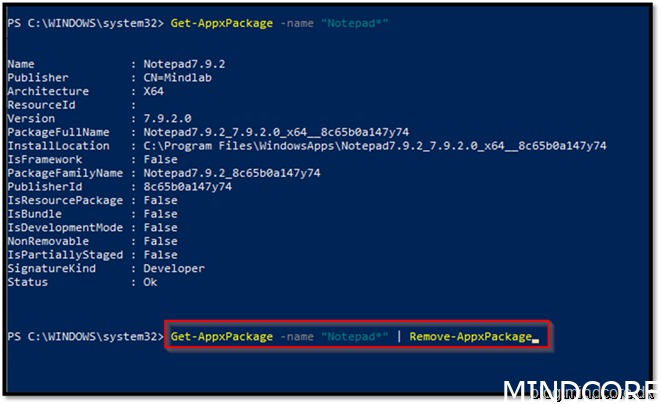
Type Get-AppxPackage -name “Notepad*”
To remove the MSIX package from your test device type: Get-AppxPackage -name “Notepad*” | Remove-AppxPackage
Congratulations on your first package. Now keep up the pace with the next package!
Fun facts:
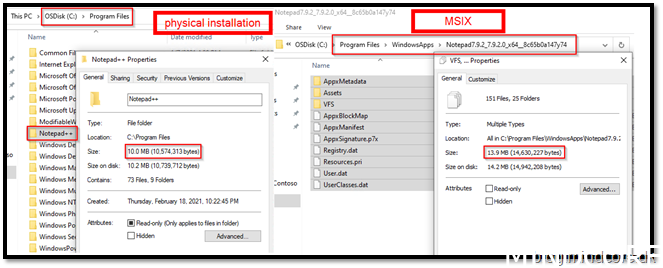
If we look into RAM consumption for a physical installed notepad++ VS MSIX packaged app of Notepad++, then MSIX is actually doing better than native. Surprisingly!

When looking on HDD size the legacy installation win with just a little. To be fair the physical installation does not have the appdata files included in this comparison which were about 2.5 MB.
Summary
Conclusion, you better get going with that packaging!
By now we know how to build MSIX packages. It is super fun and also super easy (until it is not 🙂)
Stay tuned for part 4 where we will go through UAT and a very important thing that we missed in this chapter.