Part 3 – Update management
Notice: This product/feature is deprecated and no longer supported.
Introduction
In the previous post we created a log analytics workspace and automation account. Now it is time to configure update management for our Azure Arc enabled machines.

Overview of the series:
· Part 2 – Fundamental’s (log analytics and automation account)
· Part 3 – Update Management (This post)
· Part 4 – Change tracking and inventory
Requirements
– Azure Subscription – if you don’t already have a subscription, you can get a free trial here
– Log Analytics workspace configured (See part 2)
– Automation Account configured (See part 2)
To deploy updates, we must create a deployment schedule. But before we can do this, we have two steps we must complete to make sure our machines are ready.
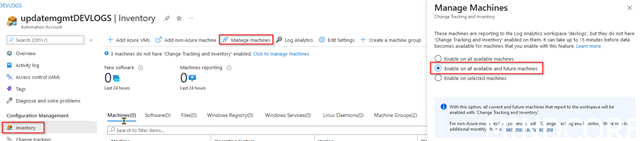
So, first order of business is to make sure we have enabled change tracking and inventory (in a later post we will dive into this topic). This can be done in the inventory blade be clicking “Manage Machines” – this will enable change tracking and inventory for all current and future machines connected to the log analytics workspace linked to our Automation Account.
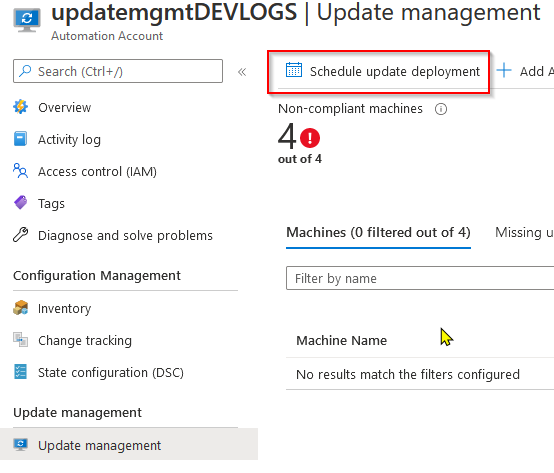
Once we have enabled change tracking and inventory, we can create a scheduled deployment of Windows updates.
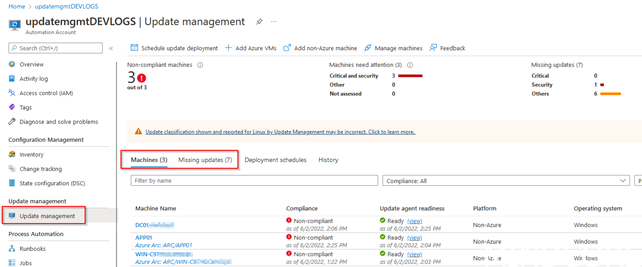
To do so we click “schedule update deployment” from the Update Management blade on our Automation Account:
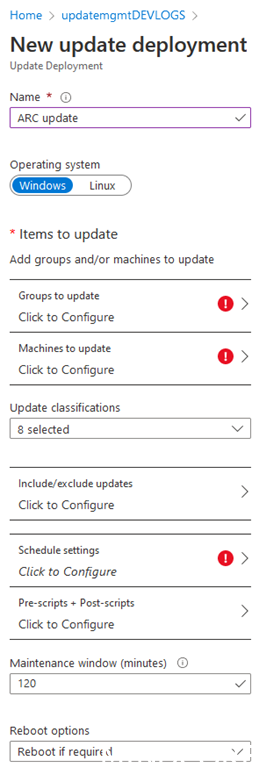
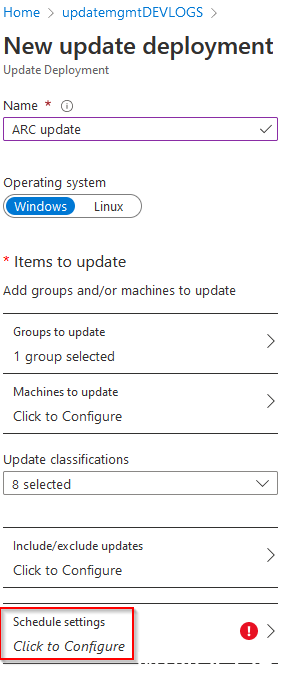
When configuring a deployment schedule, we must define which machines we want to update and when to update them as a minimum.
When choosing the machines, we can choose either a machine group or individual machine.
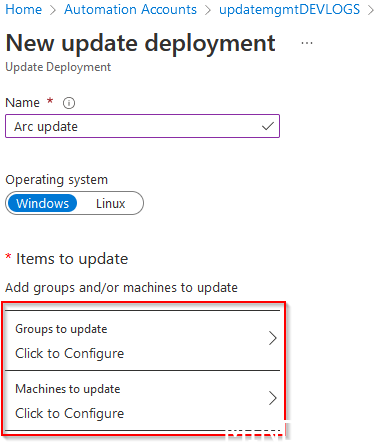
In this example we will choose individual machines.
NOTE: If you would rather use a computer group I made a short description of how to create a computer group here: Creating a computer group as a function (mindcore.dk)
To do so select “Machines to update” then set Type to “Machine” and click to machines you want to add to the schedule.

NOTE: if the machines have not been enabled for change tracking and inventory they will not show up in the query
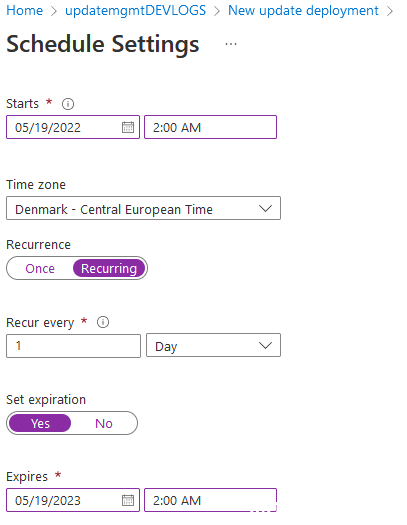
When we have selected the machines we want to update we can go ahead a choose a time for deployment and whether it should be reoccurring or a one-time deployment
I have chosen to schedule the update to start at 2am and to reoccur daily for a year from today
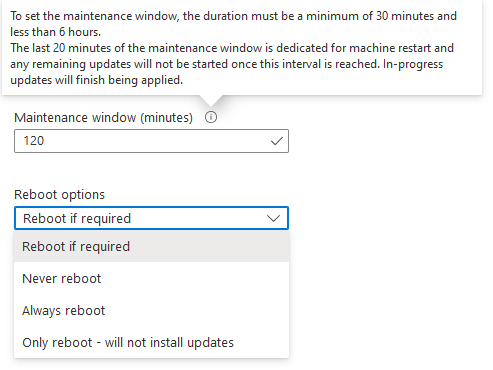
A couple of other things to consider is the maintenance windows and reboot options.
As shown below the maintenance windows can maximum be extended to 6 hours with 20 minutes reserved to rebooting.
Once our schedule is created and the machines have picked it the new schedule we can sit back and enjoy a cold brew while Azure does its thing
Summary
We have created an Update management deployment schedule for individual machines and can now monitor the deployment progress and status of the machines from the Update management panel
Happy testing!