Enable Change tracking and inventory from Azure ARC
Introduction
To be able to see inventory and change tracking information when we have added our non-Azure machines to Azure ARC, we must enable the change tracking and inventory solution on our Log Analytics workspace.
This will give us an insight into the changes made to our Azure ARC connected machines as well as a good overview of what software and services are installed or gets added. We can also monitor registry as well as files and folders to keep inventory and track changes over time.
You enable change tracking and inventory on the Automation Account associated with the Log Analytics Workspace that the Azure ARC enabled machine is connected to. So essentially this is an Automation Account feature, but for the sake of this lab we will start from the Azure ARC blade.
Overview of the series:
- Part 1 – Enabling Azure Arc
- Part 2 – Fundamental’s (Log Analytics and Automation account)
- Part 3 – Update Management
- Part 4 – Change tracking and inventory (This post)
In this lab we will cover the following technologies:
- Azure ARC
- Azure Automation
Requirements
- To be able to configure Azure ARC you must have a Log Analytics Workspace and an associated Automation Account already setup (See Part 2 of the series).
Setting up Change Tracking and Inventory from Azure ARC
When we open the change tracking or inventory blade for our machine, we are greeted by a banner telling us to enable change tracking on our Automation Account.
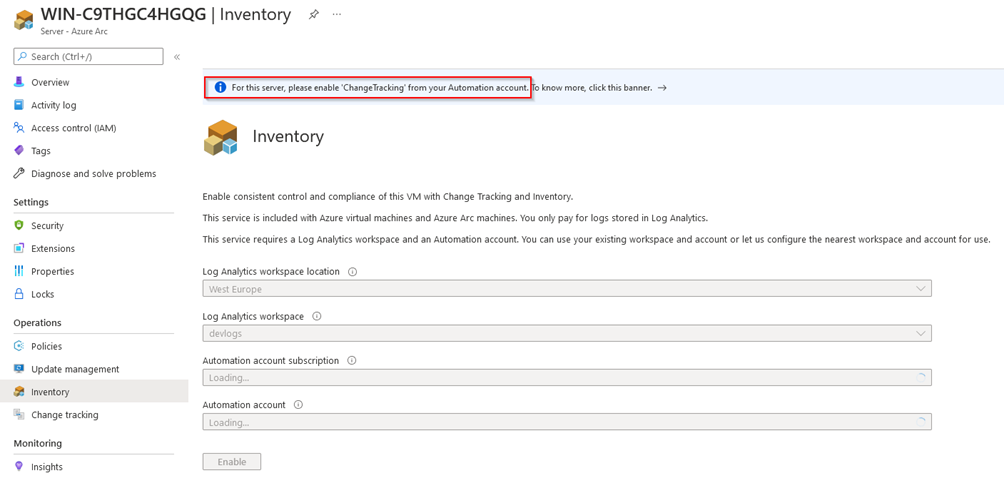
So, let us go ahead and do that.
Enabling change tracking and inventory
Automation account
To enable change tracking and inventory for our machine we must go to the Automation Account associated with the Log Analytics Workspace our machine is connected to and enable the feature.
Linking Automation account to Log Analytics Workspace
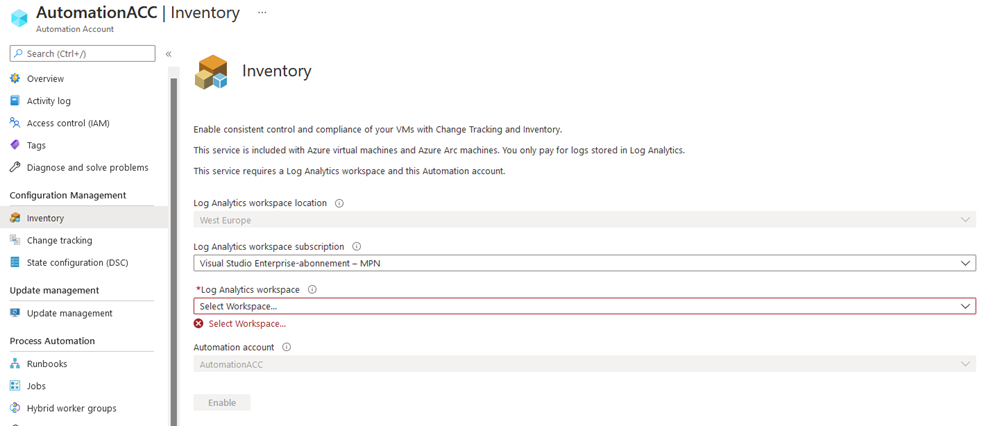
If we have not yet created a link between an Automation Account and the Log Analytics workspace, we must do so now.
On the Automation Account go to either Change Tracking or Inventory and choose what Log Analytics Workspace to link the account to.
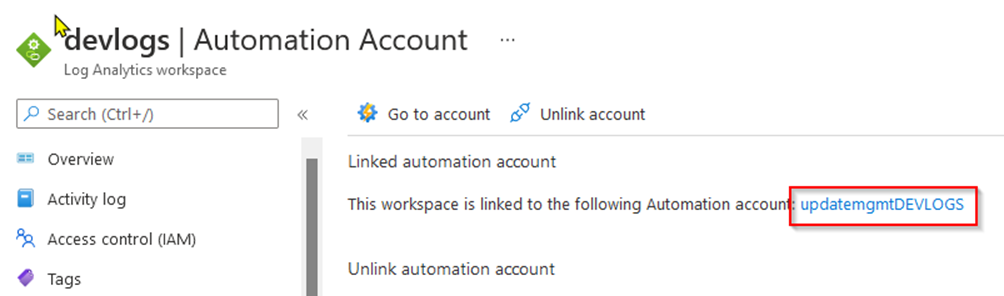
If we already have a link in place but do not know the name of the Automation Account, we can find it under the Automation Account blade of our Log Analytics Workspace:
Enable Change tracking
Now that we have the Automation Account, we can enable Inventory and Change Tacking from Azure Arc or on the Automation Account itself.
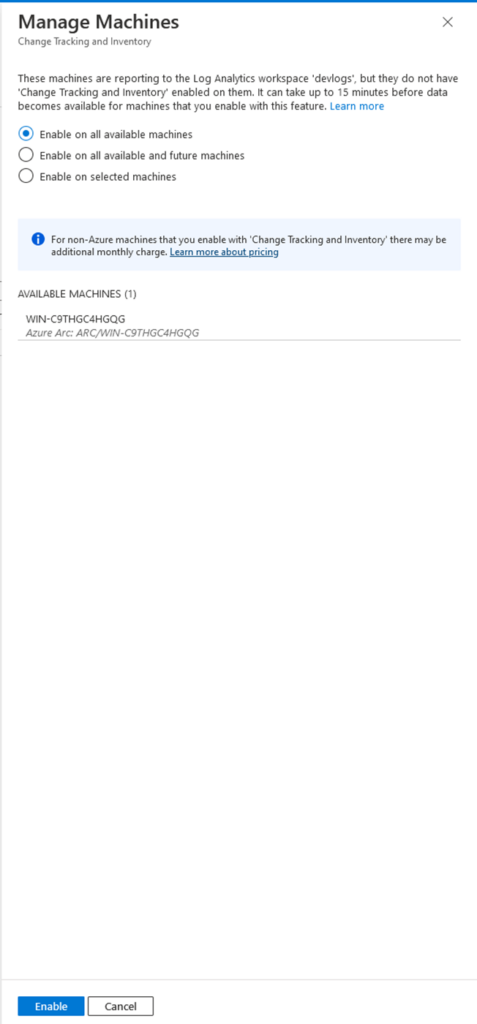
Clicking “Manage machines” and select the scope we want to enable Change tracking and inventory for.
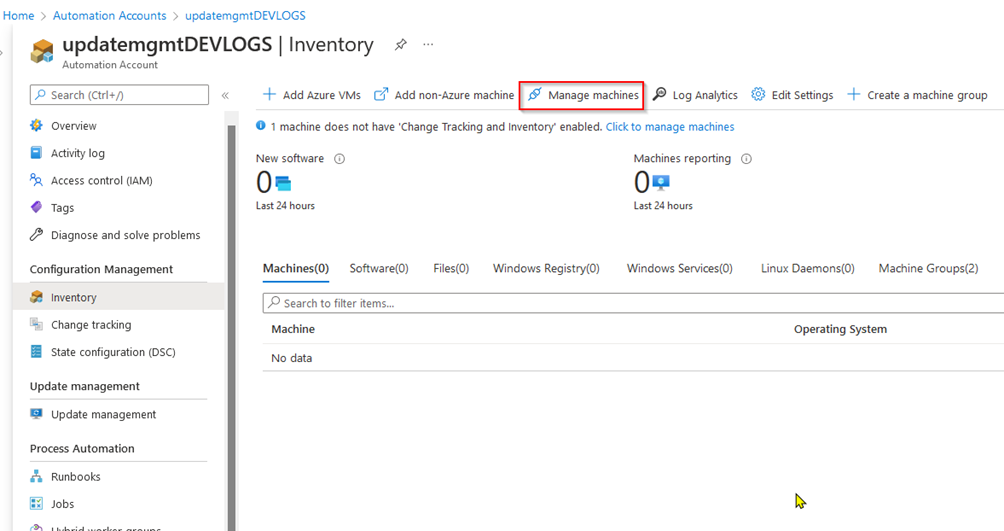
You can enable change tracking either for all machines connected to the log analytics workspace (current and future) or for a single machine, for this lab we enable it for all current machines
Enabling change tracking is almost instant and once the task has run you will be able to access change tracking and inventory for the machine in Azure ARC.
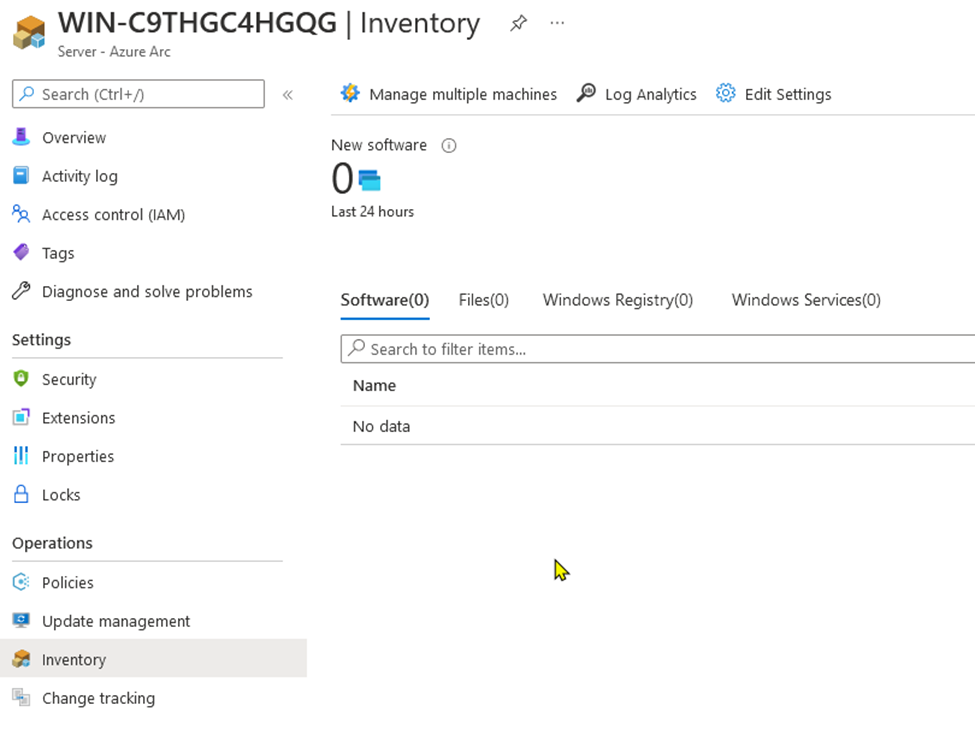
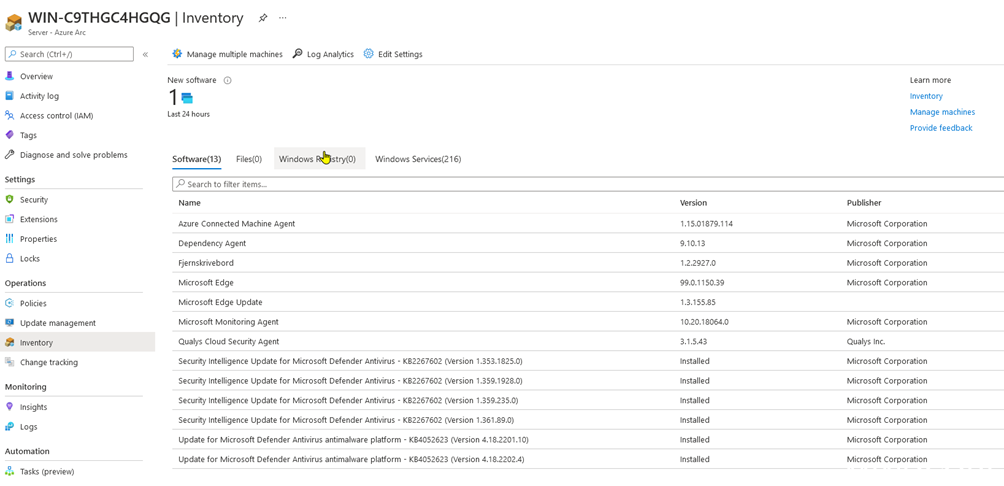
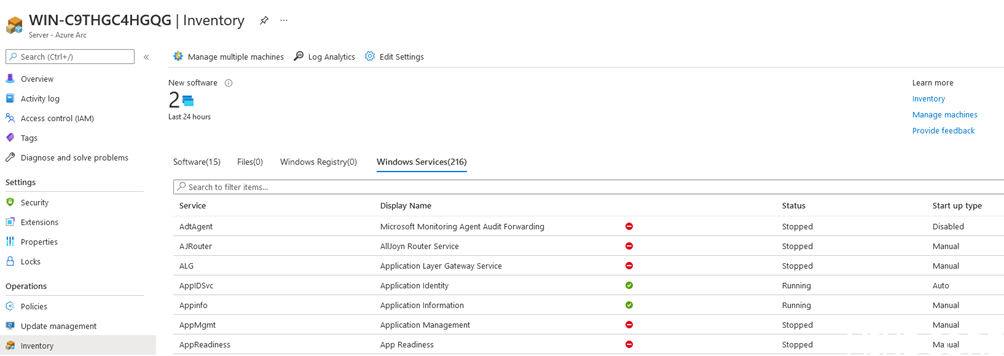
Inventory:
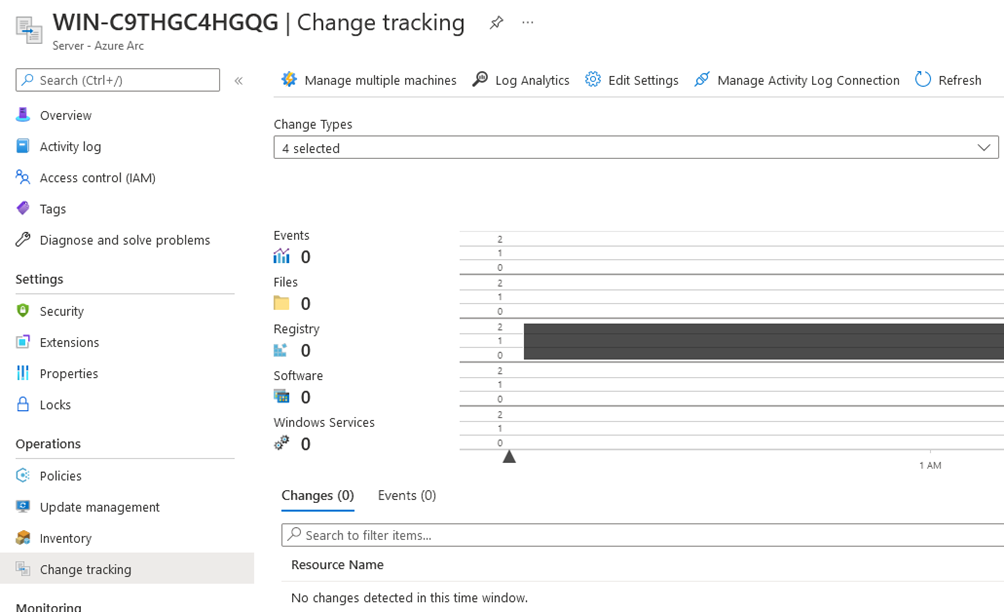
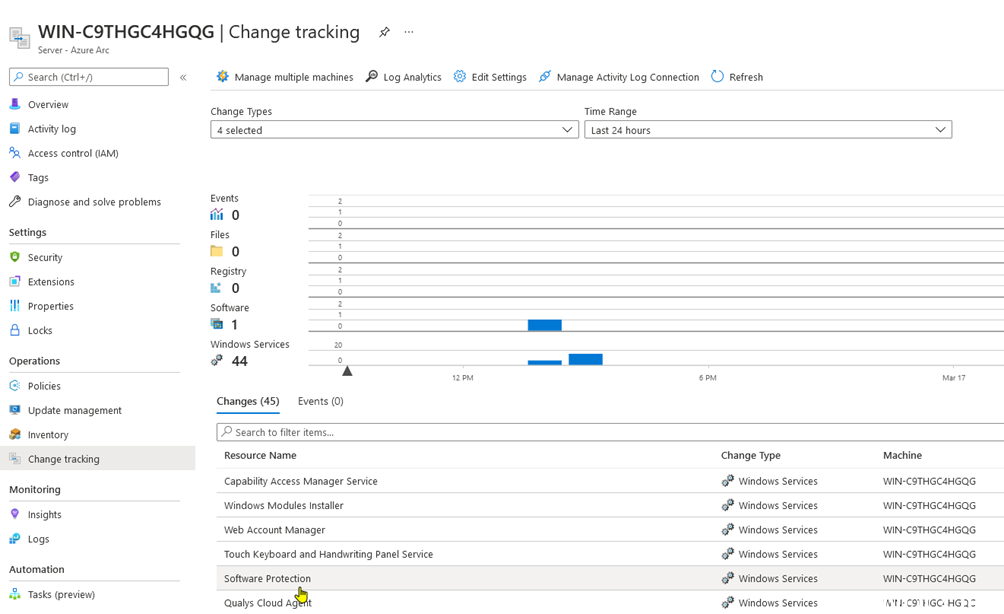
Change Tracking:
Configuring what to track
Once Change Tracking is enabled you can track changes in Windows Registry, Windows files, Linux Files, File content and Windows Services. In this post we will cover Registry settings, Windows Files and File Content.
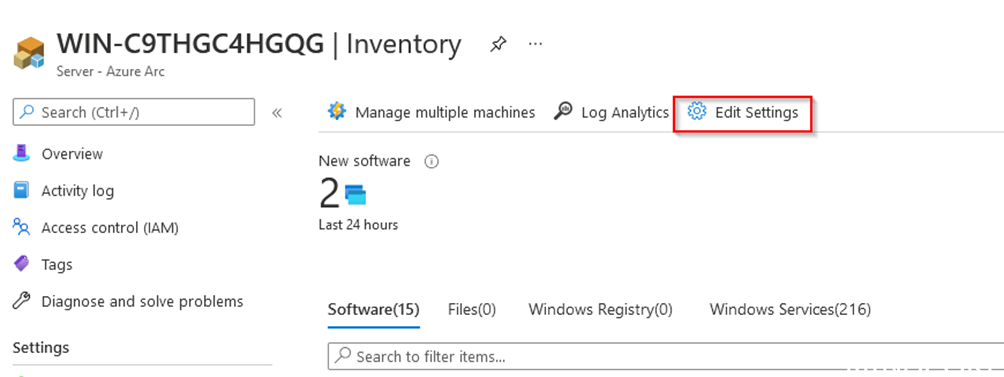
We can configure the tracking options by clicking “Edit Settings” in either the Inventory or Change Tracking blade.
There are some predefined settings that we can enable, and we can add our own as well.
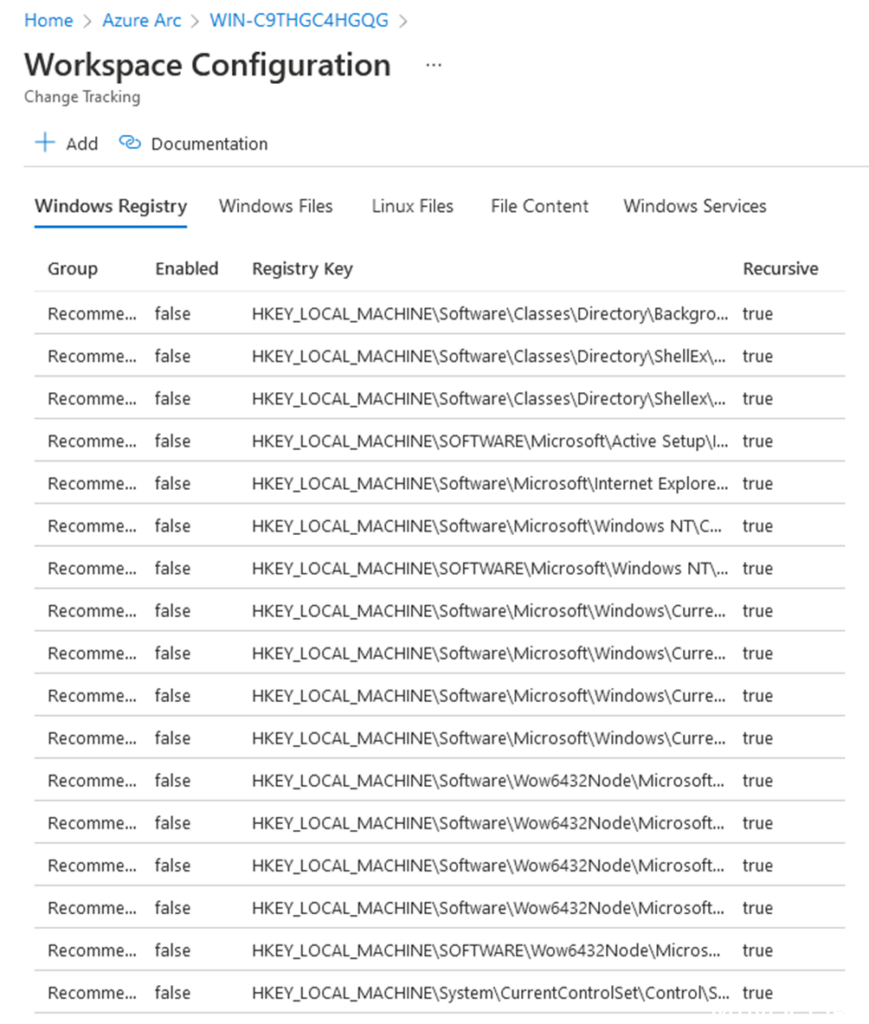
Registry keys (Predefined).
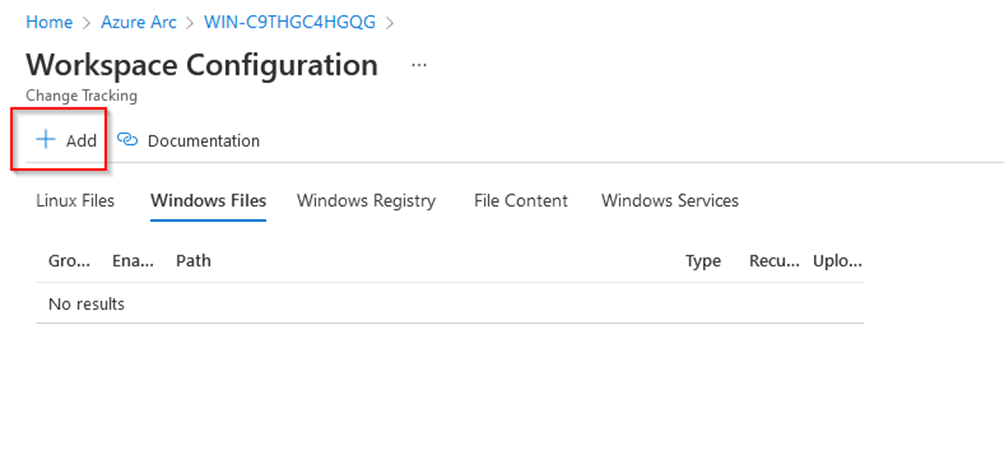
Windows Files
Adding a directory or file to track.
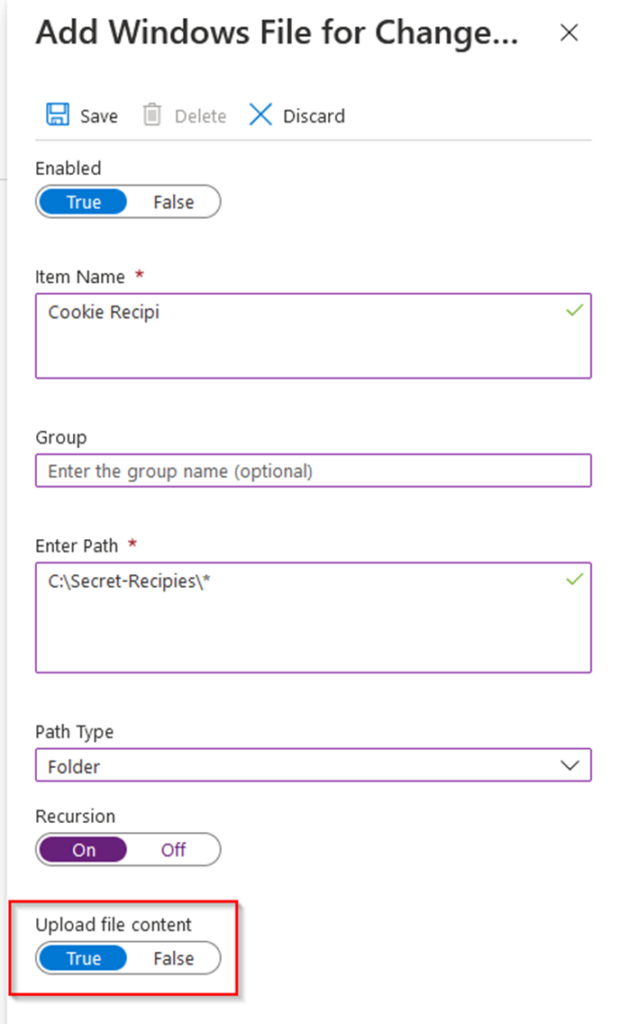
We can add a directory or a specific file to track changes for (file content tracking will be covered later in this post).
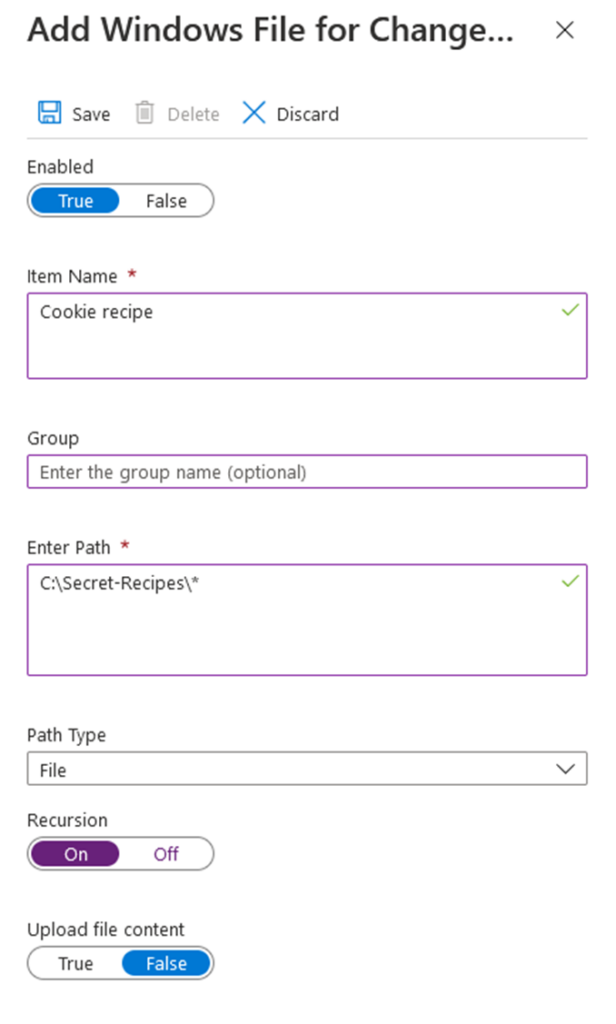
NOTE: If we choose to use recursion, we must a wild card on the path ie. C:\somefolder\* or C:\somefolder\somefile*
File Content tracking
To enable File Content tracking we must specify a storage account we can store files in that are tracked.
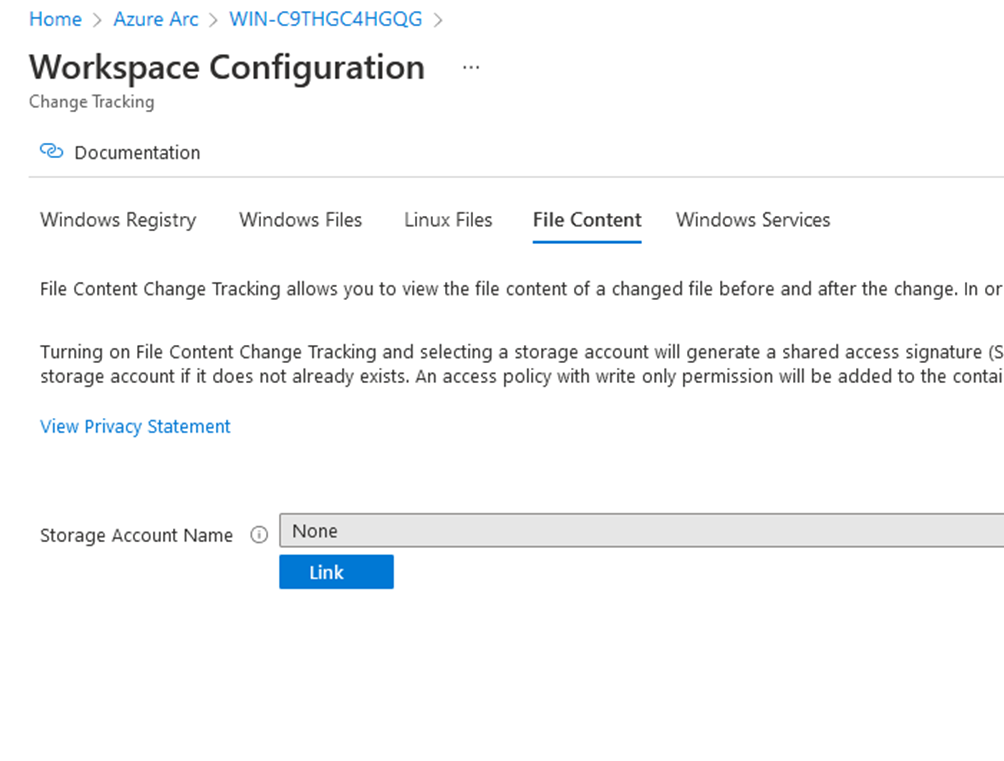
Once we have File content enabled we can choose to upload a specific file or an entire directory to keep track of changes to the content
Summary
Once data is collected (this can take 30 minutes or more) it will be available in Log Analytics Workspace and you can view it in the Azure Arc blade.
In the Inventory panel we can now see an overview and status for our machine.
In the Change tracking panel, we can see changes in the state of the machine, for example if a service is stopped or started.
What was all for this post, get up we will cover configuring our machines using policies.
Happy testing!