Part 2 – Fundamental’s (Log Analytics workspace and Automation Account)
Introduction
Azure Arc relies on other Azure services to be able to manage machines. Particularly Log Analytics and Automations Accounts.
So, to take advantage of management features like Update management, change tracking etc. we must setup a Log Analytics workspace where we can store data collected from the machines we want to manage and also configure an Automation Account for collecting data, apply updates etc.
In this post we will start by setting up a Log Analytics workspace. Afterwards we will create an Automation Account and link it to the workspace.

Overview of the series:
- Part 1 – Enabling Azure Arc
- Part 2 – Fundamental’s (log analytics and automation account) (This post)
- Part 3 – Update Management
- Part 4 – Change tracking and inventory
Requirements
– Azure Subscription – if you don’t already have a subscription, you can get a free trial here
– Resource group
To get started on the let’s begin by setting up a Log Analytics workspace.
Log Analytics workspace
In the main blade of Log Analytics workspaces click create

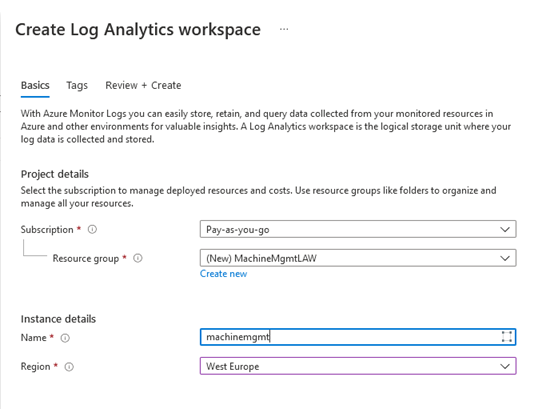
Fill out the required fields.
I will create a new resource group for my workspace, but for testing you can choose to put it in the same resource group as you Azure Arc resources. That way you can easily clean up the resources when you are done testing.
NOTE: A resource can only be connected to one Log Analytics workspace at the time.
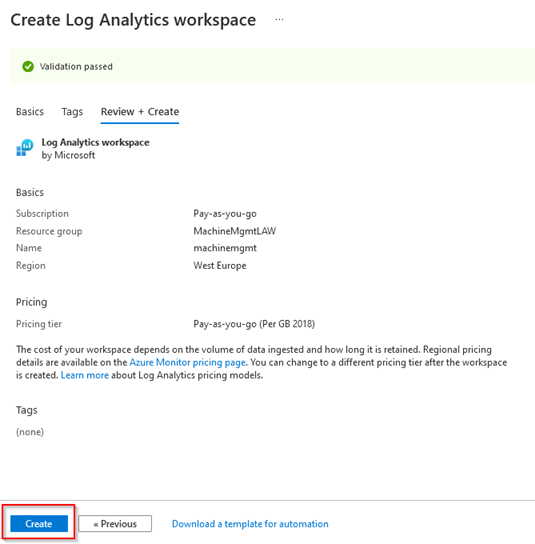
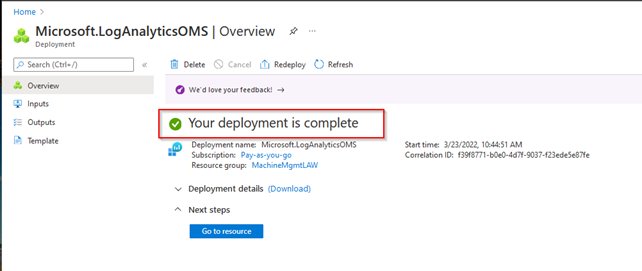
Once we have filled in the required fields click “Review + Create” to review the settings and create the resource. This shouldn’t take more than a couple of minutes.
Automation Account
Now that we have our Log Analytics workspace setup, we can go head and create our Automation Account.
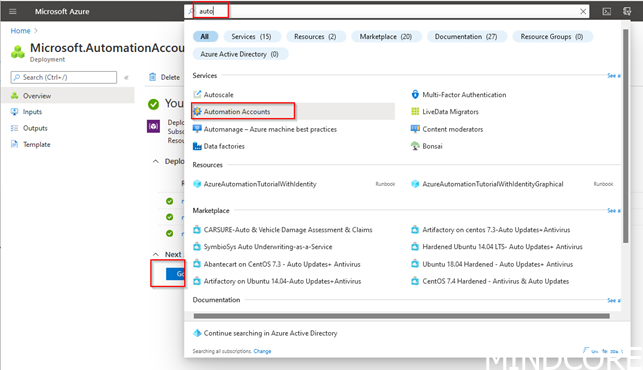
To switch to the Automation Account blade search Automation Accounts in the search box to get to the Automation Account blade
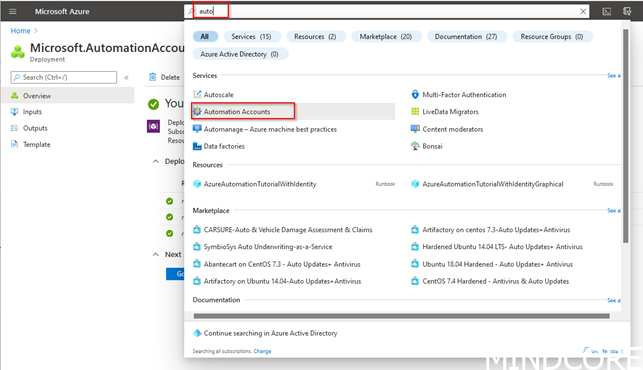
When we are in the Automation Account blade, we can create our account. Choose “Create”
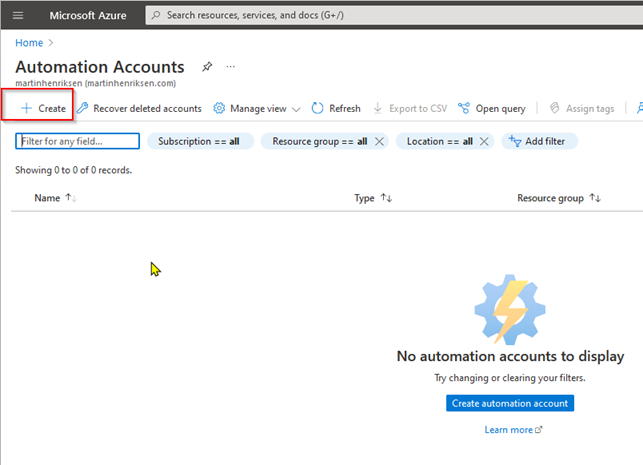
Fill in the required information.
I will just put the Automation Account in the same resource group as the Log Analytics workspace as they will be linked a probably share the same lift time in Azure and pick a name similar to the name, I gave the Log Analytics workspace.
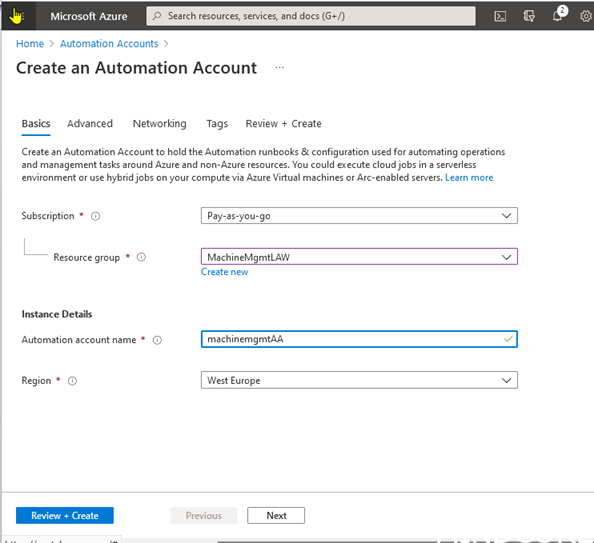
Once we have filled in the required fields click “Review + Create” to review the settings and create the resource. This shouldn’t take more than a couple of minutes.
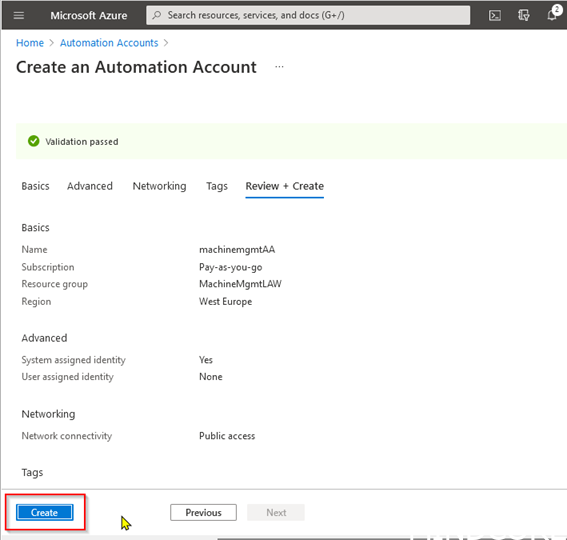
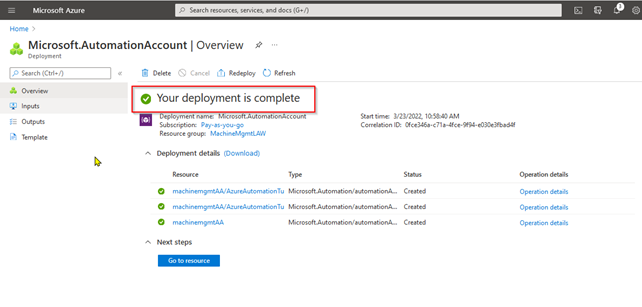
Now that we have our Automation account in place, we can link it to Log Analytics workspace we created earlier.
To get to the Automation Account click “Go to resource” on the deployment overview page or search for Automation Accounts in the search box and select your account in the Automation Accounts panel:
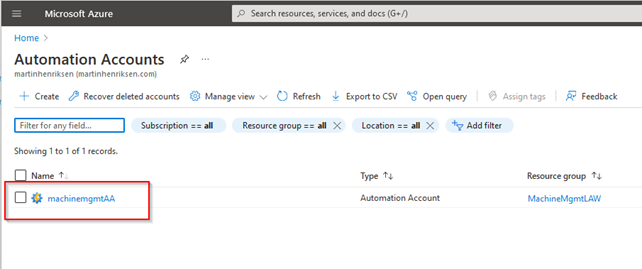
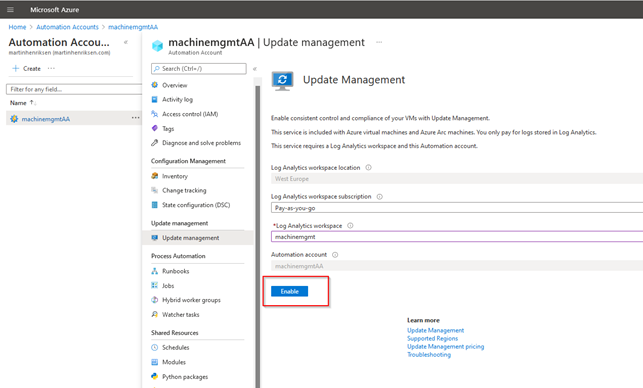
To link the Automation Account to our Log Analytics workspace we can click either one of the blades under ”Configuration Management” or “Update Management“.
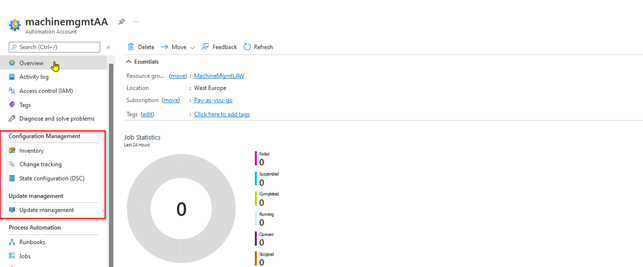
This will give us the option to enable the solution we selected and link the Account to a workspace at the same time.
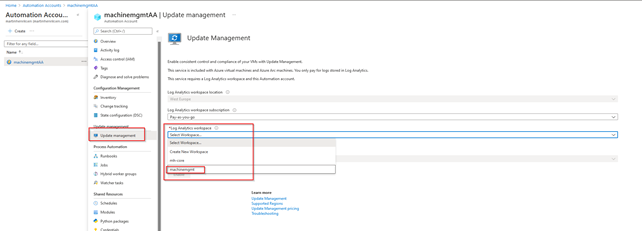
Then we select the Log Analytics workspace we created and click “Enable”
NOTE: It may take a few seconds for the “Enable” button to be available
Wait for the deployment to finish, it can take a few minutes…
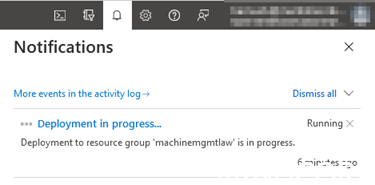
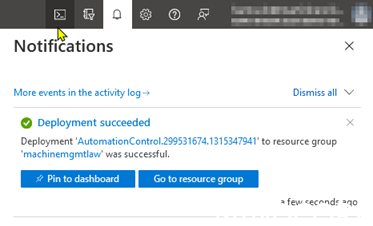
Once the deployment is complete, we can look in the “Linked workspace” blade and we can now see our Automation Account is linked to our Log Analytics workspace
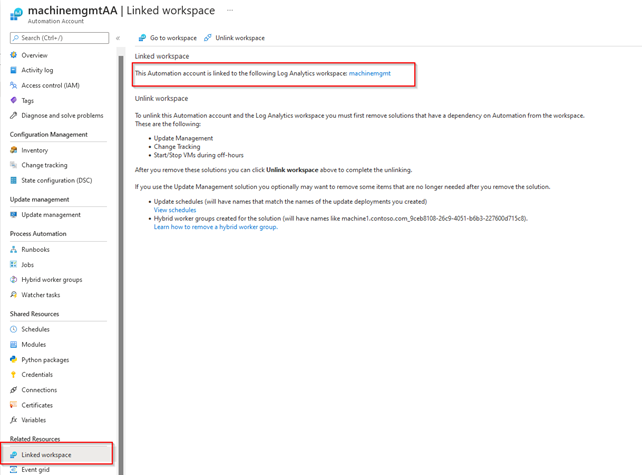
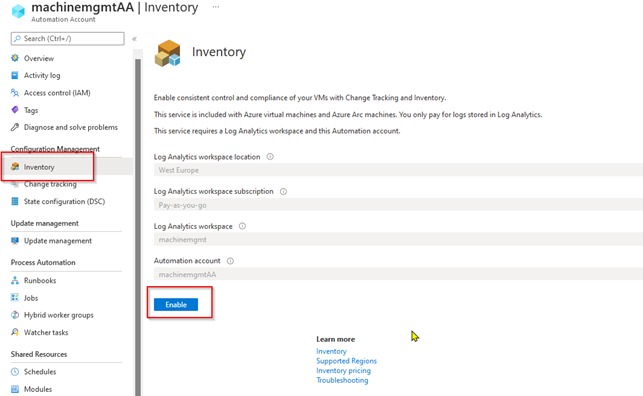
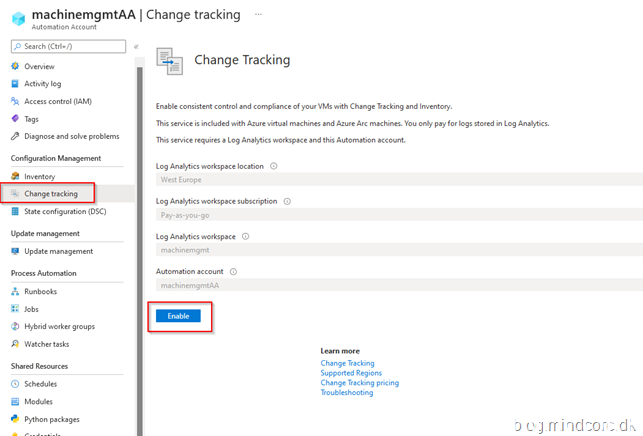
To Finish up this part of the setup we can go ahead and enable the remaining solutions – Inventory and Change tracking in this case.
Summary
We have now deployed the necessary resources to enable update management as well as Inventory and Change tracking for our Arc enabled machines.
In the next part of this series, we will look at configuring Update management!


